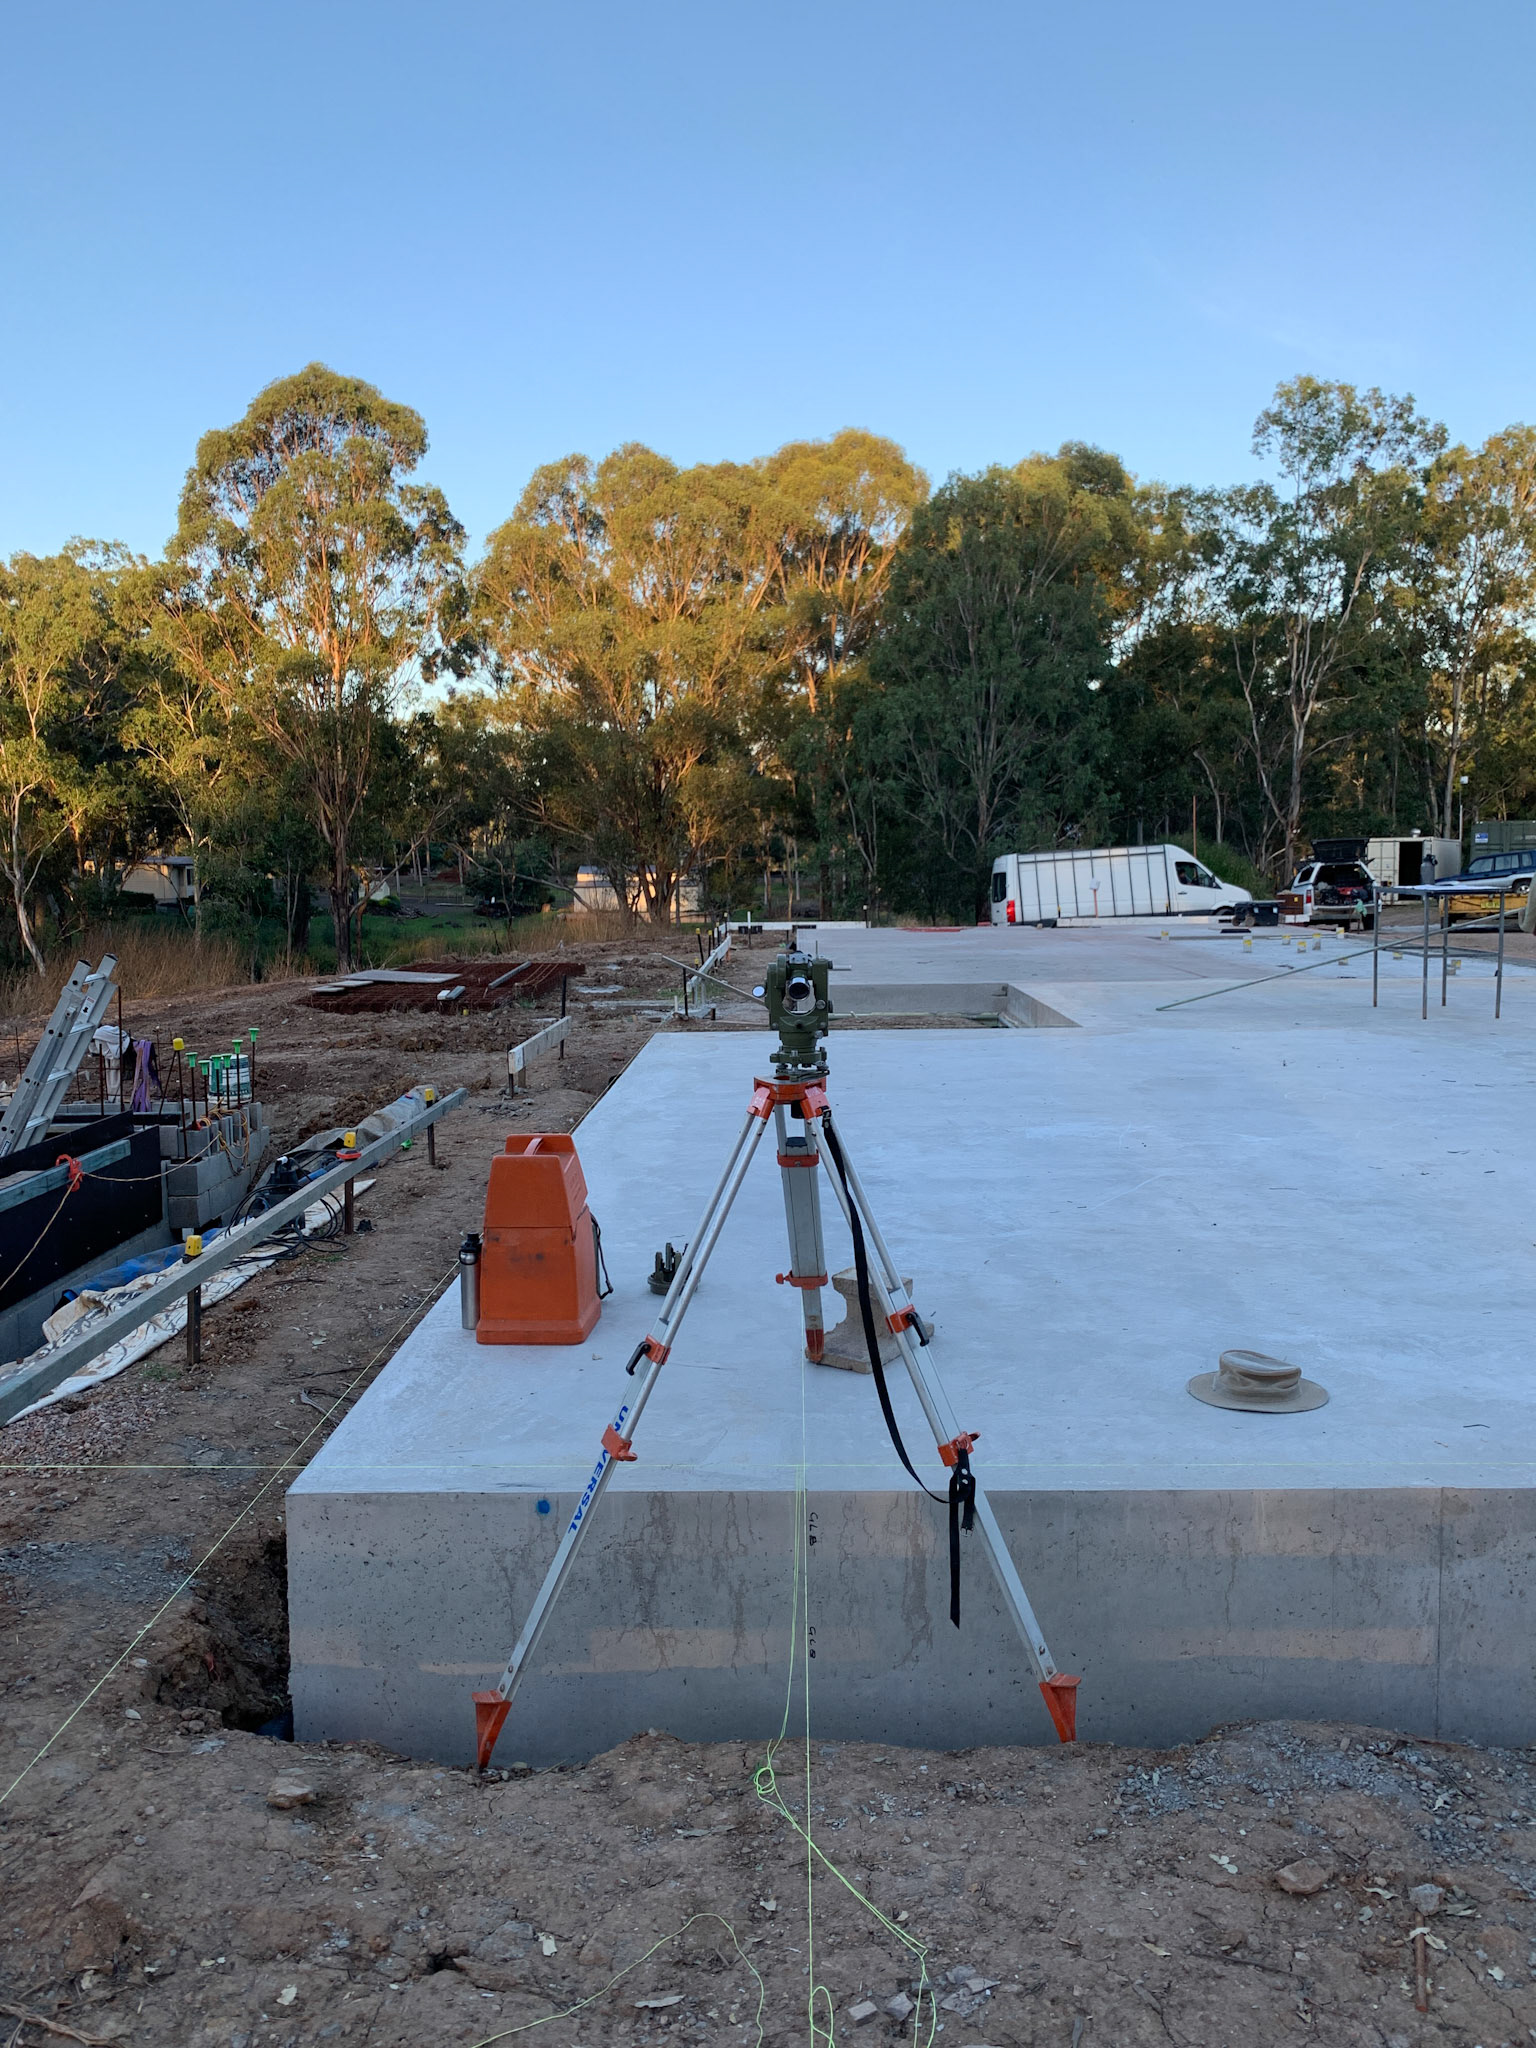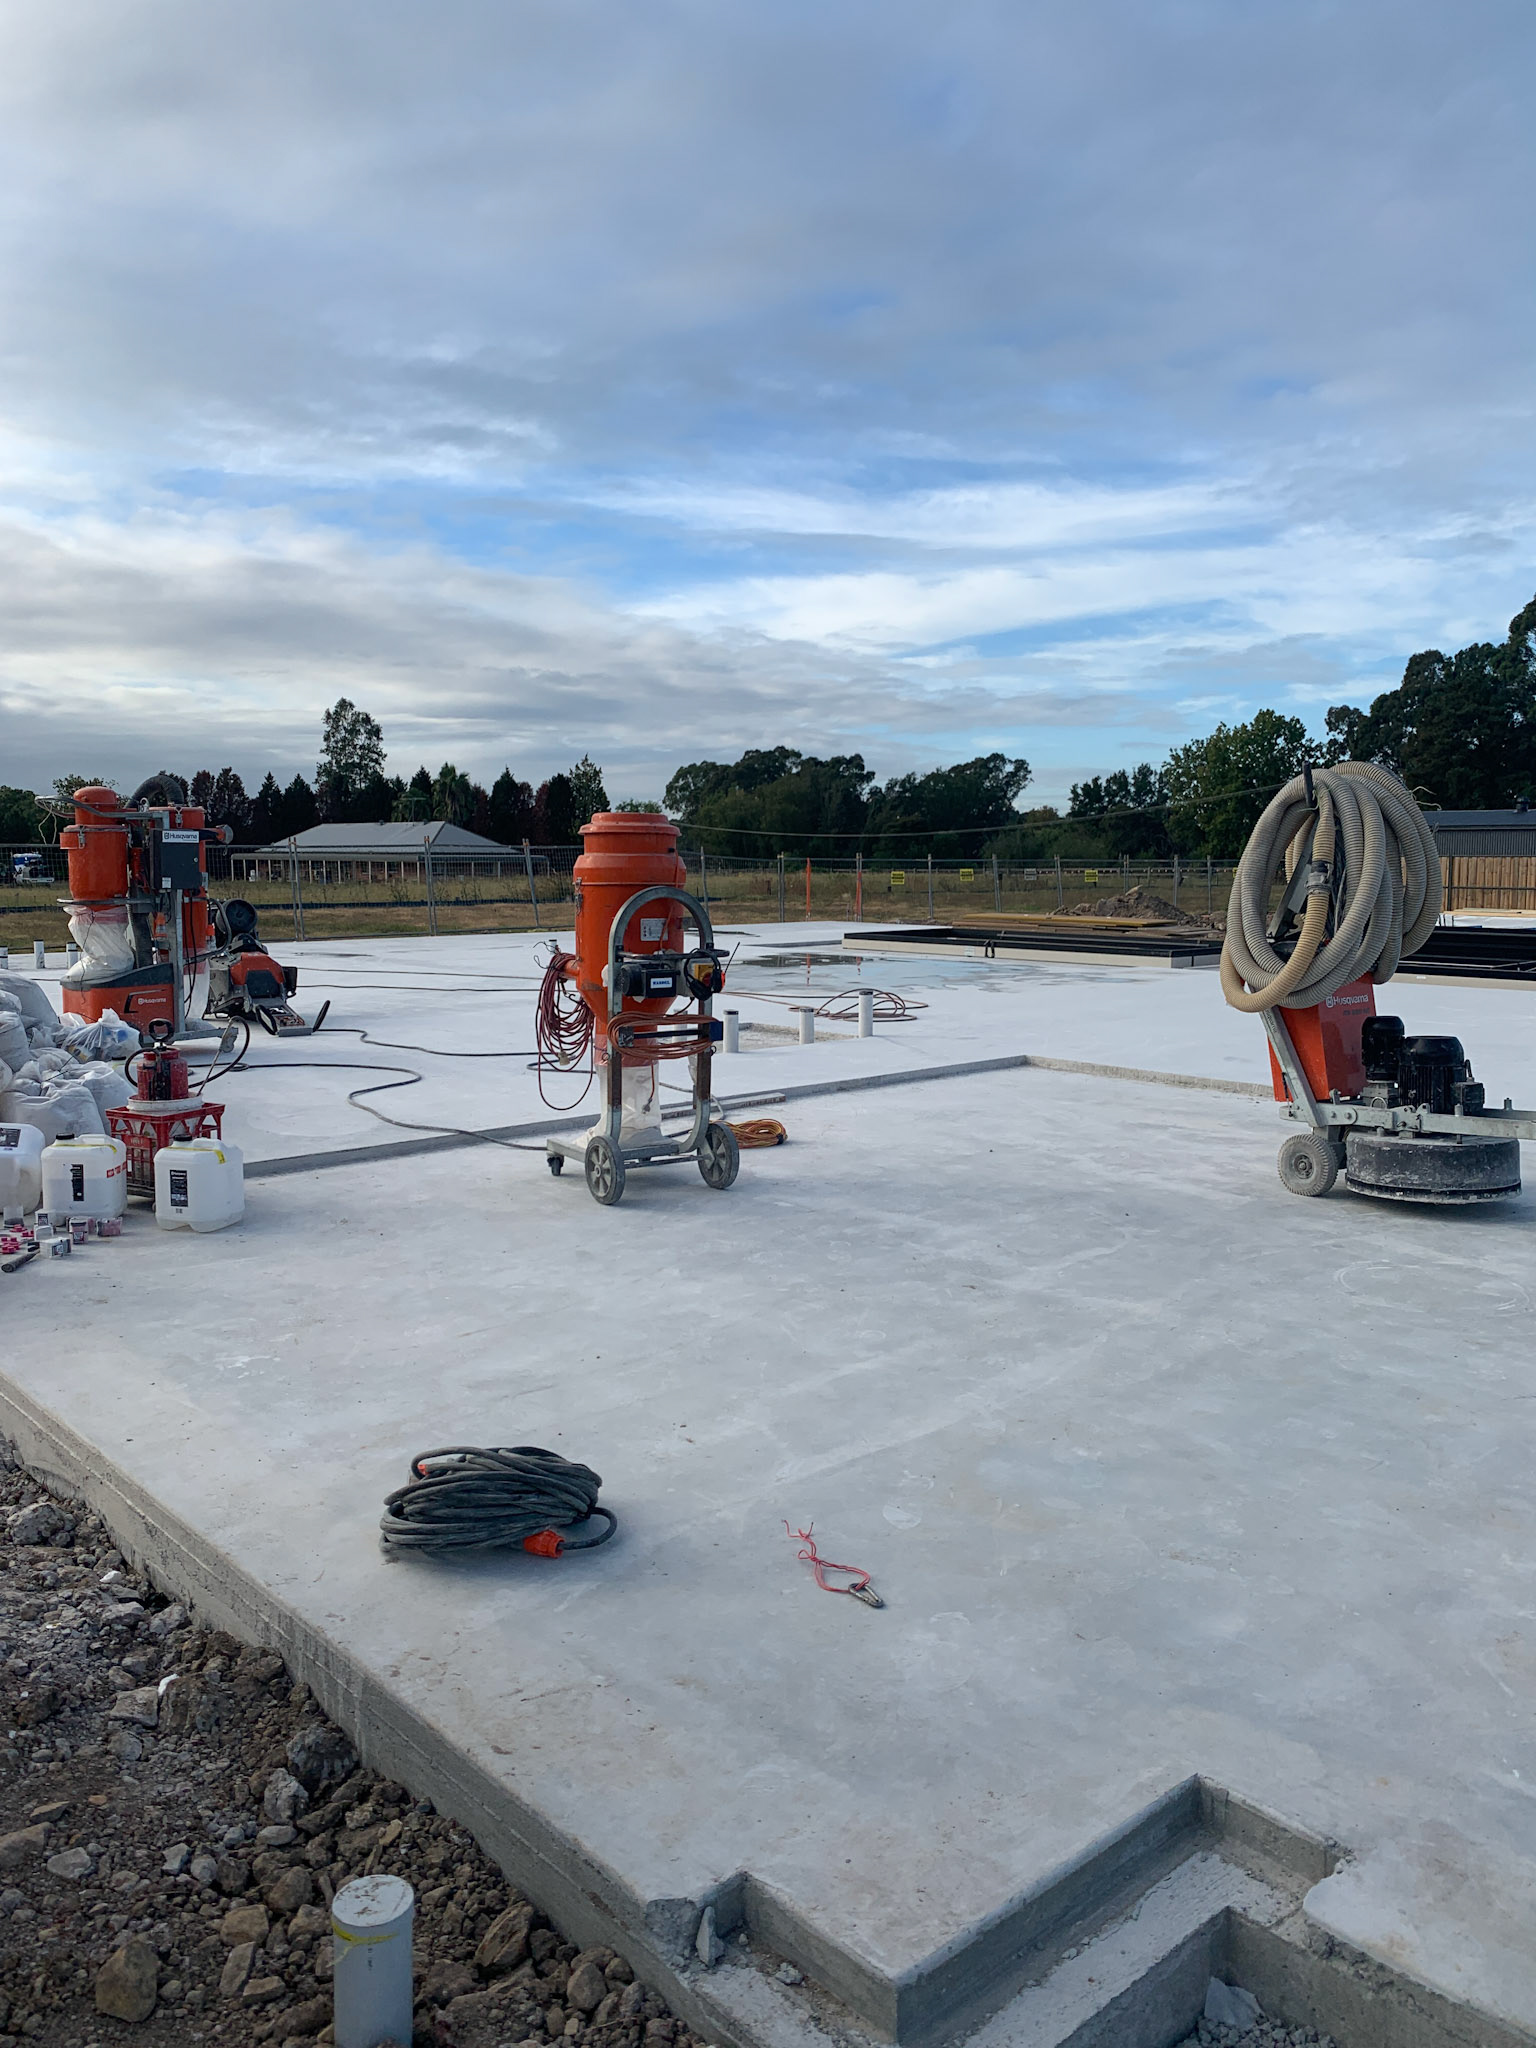


What did we do prior to CLT install?
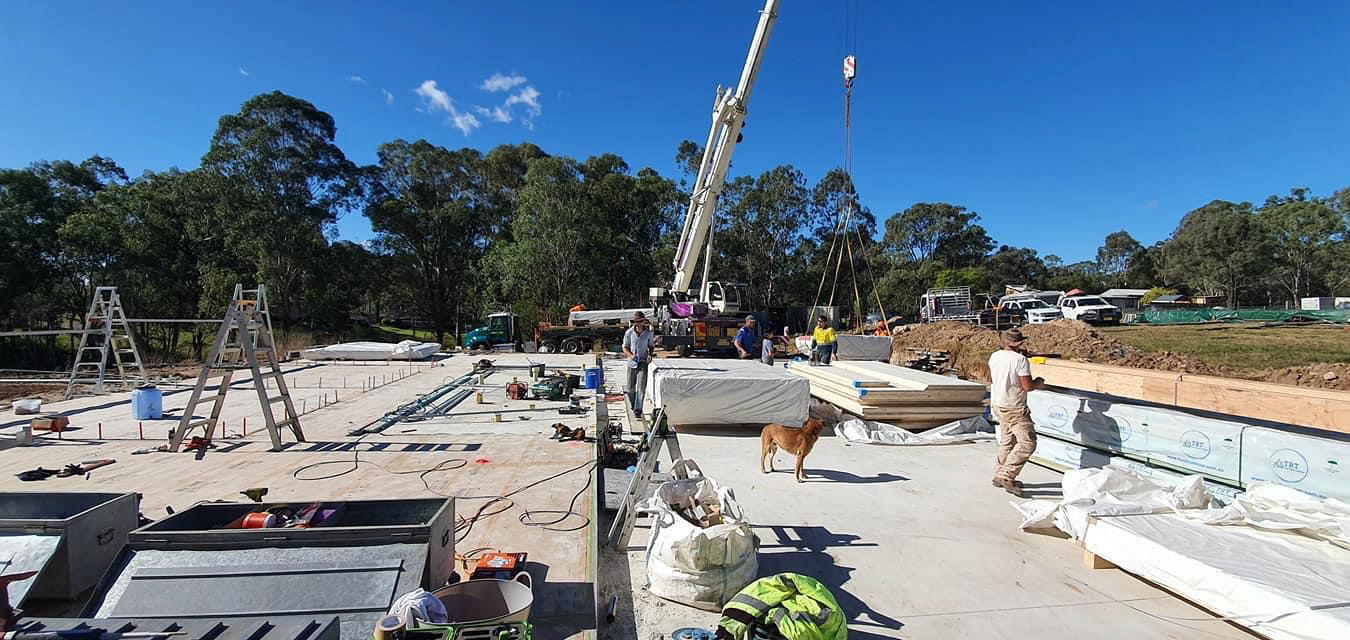
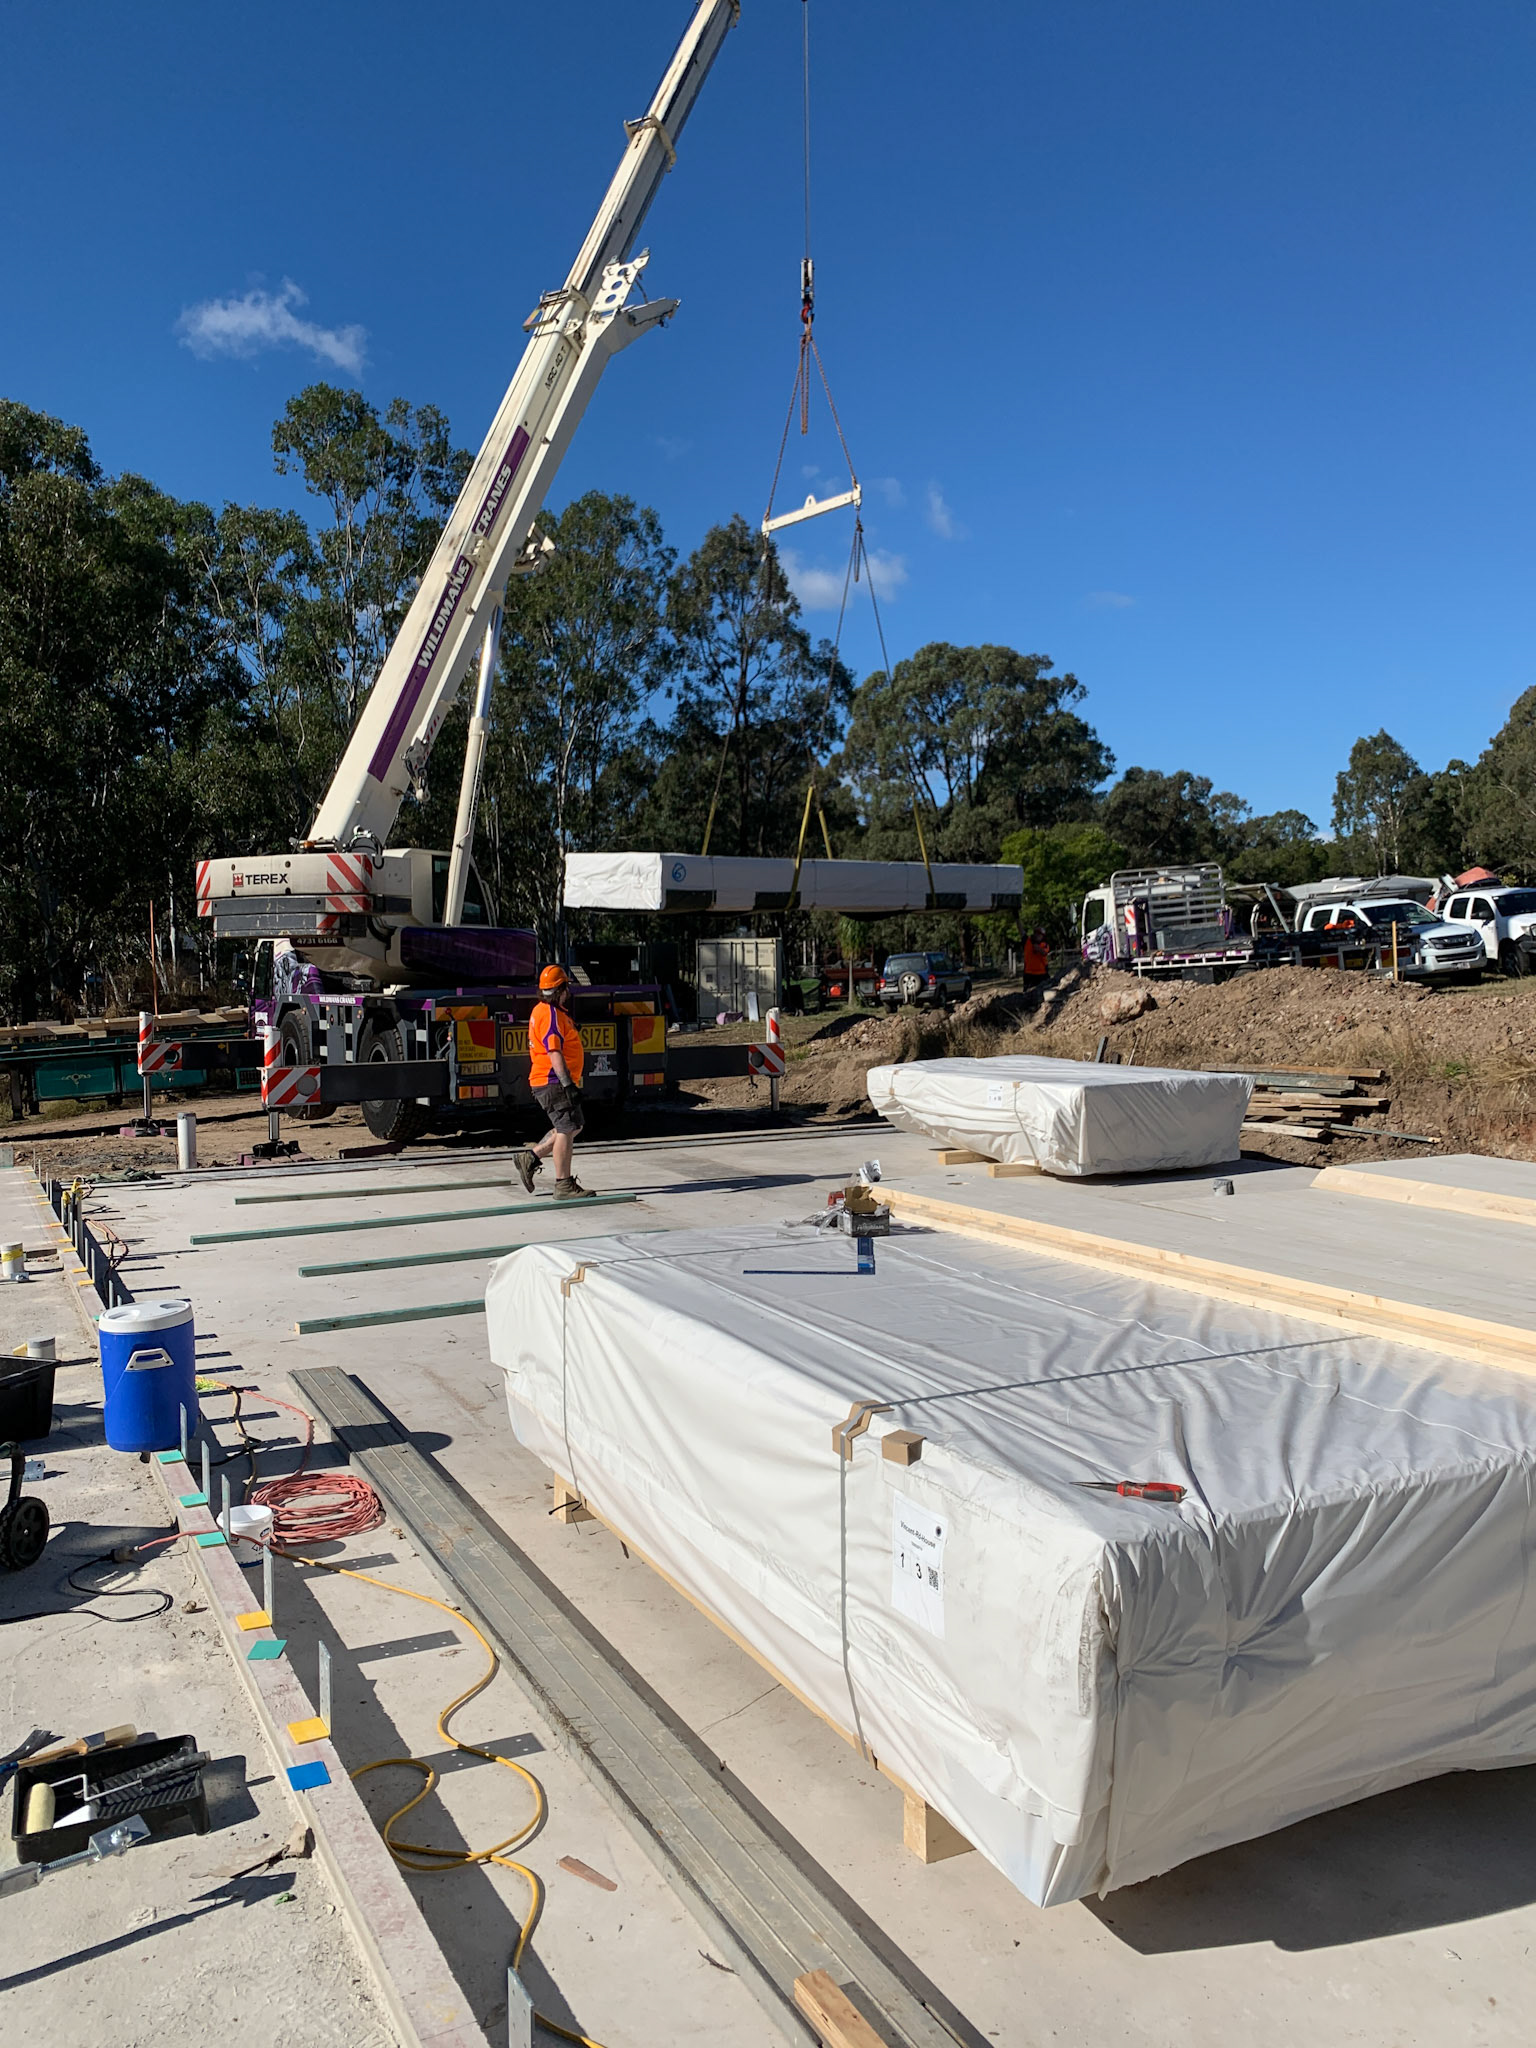
Having previous experience in C&I construction we undertook the detailing up of AutoCAD drawings for recesses and penetrations to accept services and concealed fixings solution, negotiated with local and overseas CLT suppliers on quality, price and logistics, contract procurement of CLT and GLULAM direct from supplier (LVL locally), verified supplier drawings prior to manufacturing in accordance with architectural and engineering drawings, planned erection sequence, order of loading elements into containers to enable erection sequence; logistics planning from port to site, installed deadman piers for temporary braces to avoid damaging polished concrete slab, groundworks on site to eliminate multiple crane set-ups during install and to confirm crane size based on max. reach with heaviest roof panel and CLT pack weight to be lifted off delivery truck, completed R.C SOG "the hardstand" for CLT packs placement and staging area, negotiated crane rates with various suppliers, purchased fixings, brackets and screws at the cheapest price available; and prepared specific safety plan / SWMS and inducted workers.
"The decision not to engage an experienced CLT subcontractor and supervise carpenters with no knowledge of CLT was a risky one but the install was delivered to contract requirements and exceeded client expectations at a far cheaper price"
Why did we recruit and supervise residential frame and truss carpenters for the installation of CLT and not engage an experienced CLT subcontractor?
Why did we recruit and supervise residential frame and truss carpenters for the installation of CLT and not engage an experienced CLT subcontractor?
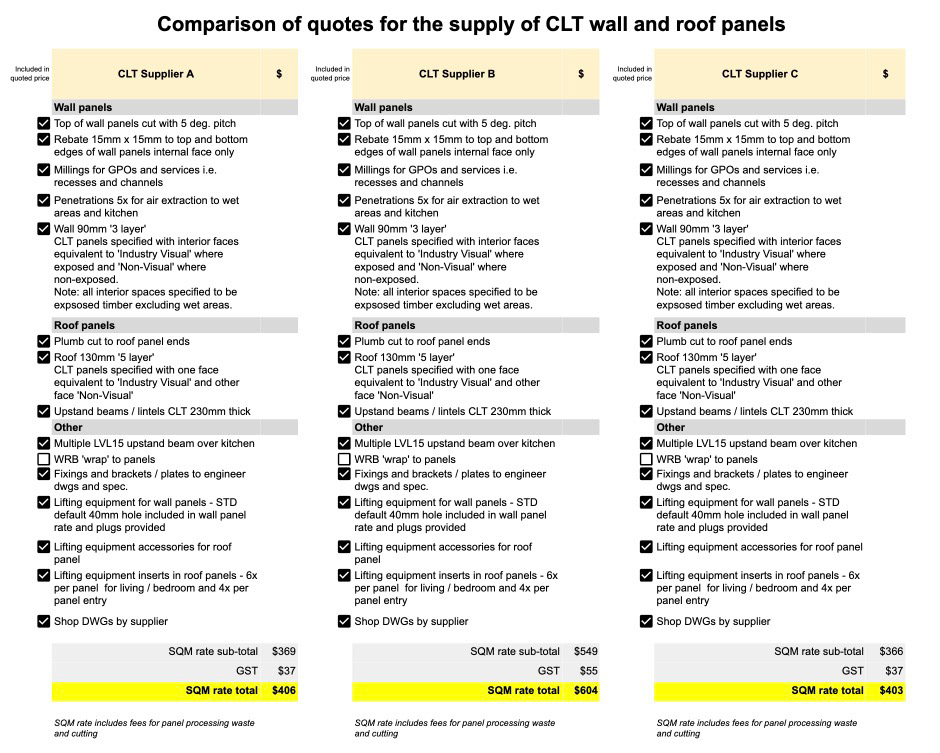
Subcontractors with CLT experience were submitting written quotes for install only with unit rates ranging from $880 to $1100 inc. GST per CLT element. This rate excluded costs for hire of crane, fixings, brackets, tapes and installation of WRB.
With a total of 78 elements, wall and roof panels, to be installed the quoted rates were deemed excessive when compared to typical house framing rates in Western Sydney. And when a subcontractor started talking about how fast they could install a wall panel at an average of 20 minutes per element the rate was extortionate.
So how did we go and what was the final install rate excluding crane costs?
The Install schedule "as it happened" is shown below and delivered an installed unit rate of $230 inc. GST per element.
Did we achieve an average install rate of 20 minutes per element?
Yes, if we only accounted for the time from attaching lifting chains, lifting the panel off the pack, panel placement, preliminary panel fixings/screws, attaching temporary brace(s) and plumbing-up panel prior to removing the lifting chains.
What was critical to this install?
Completing ITPs prior to roof panels being loaded onto walls.
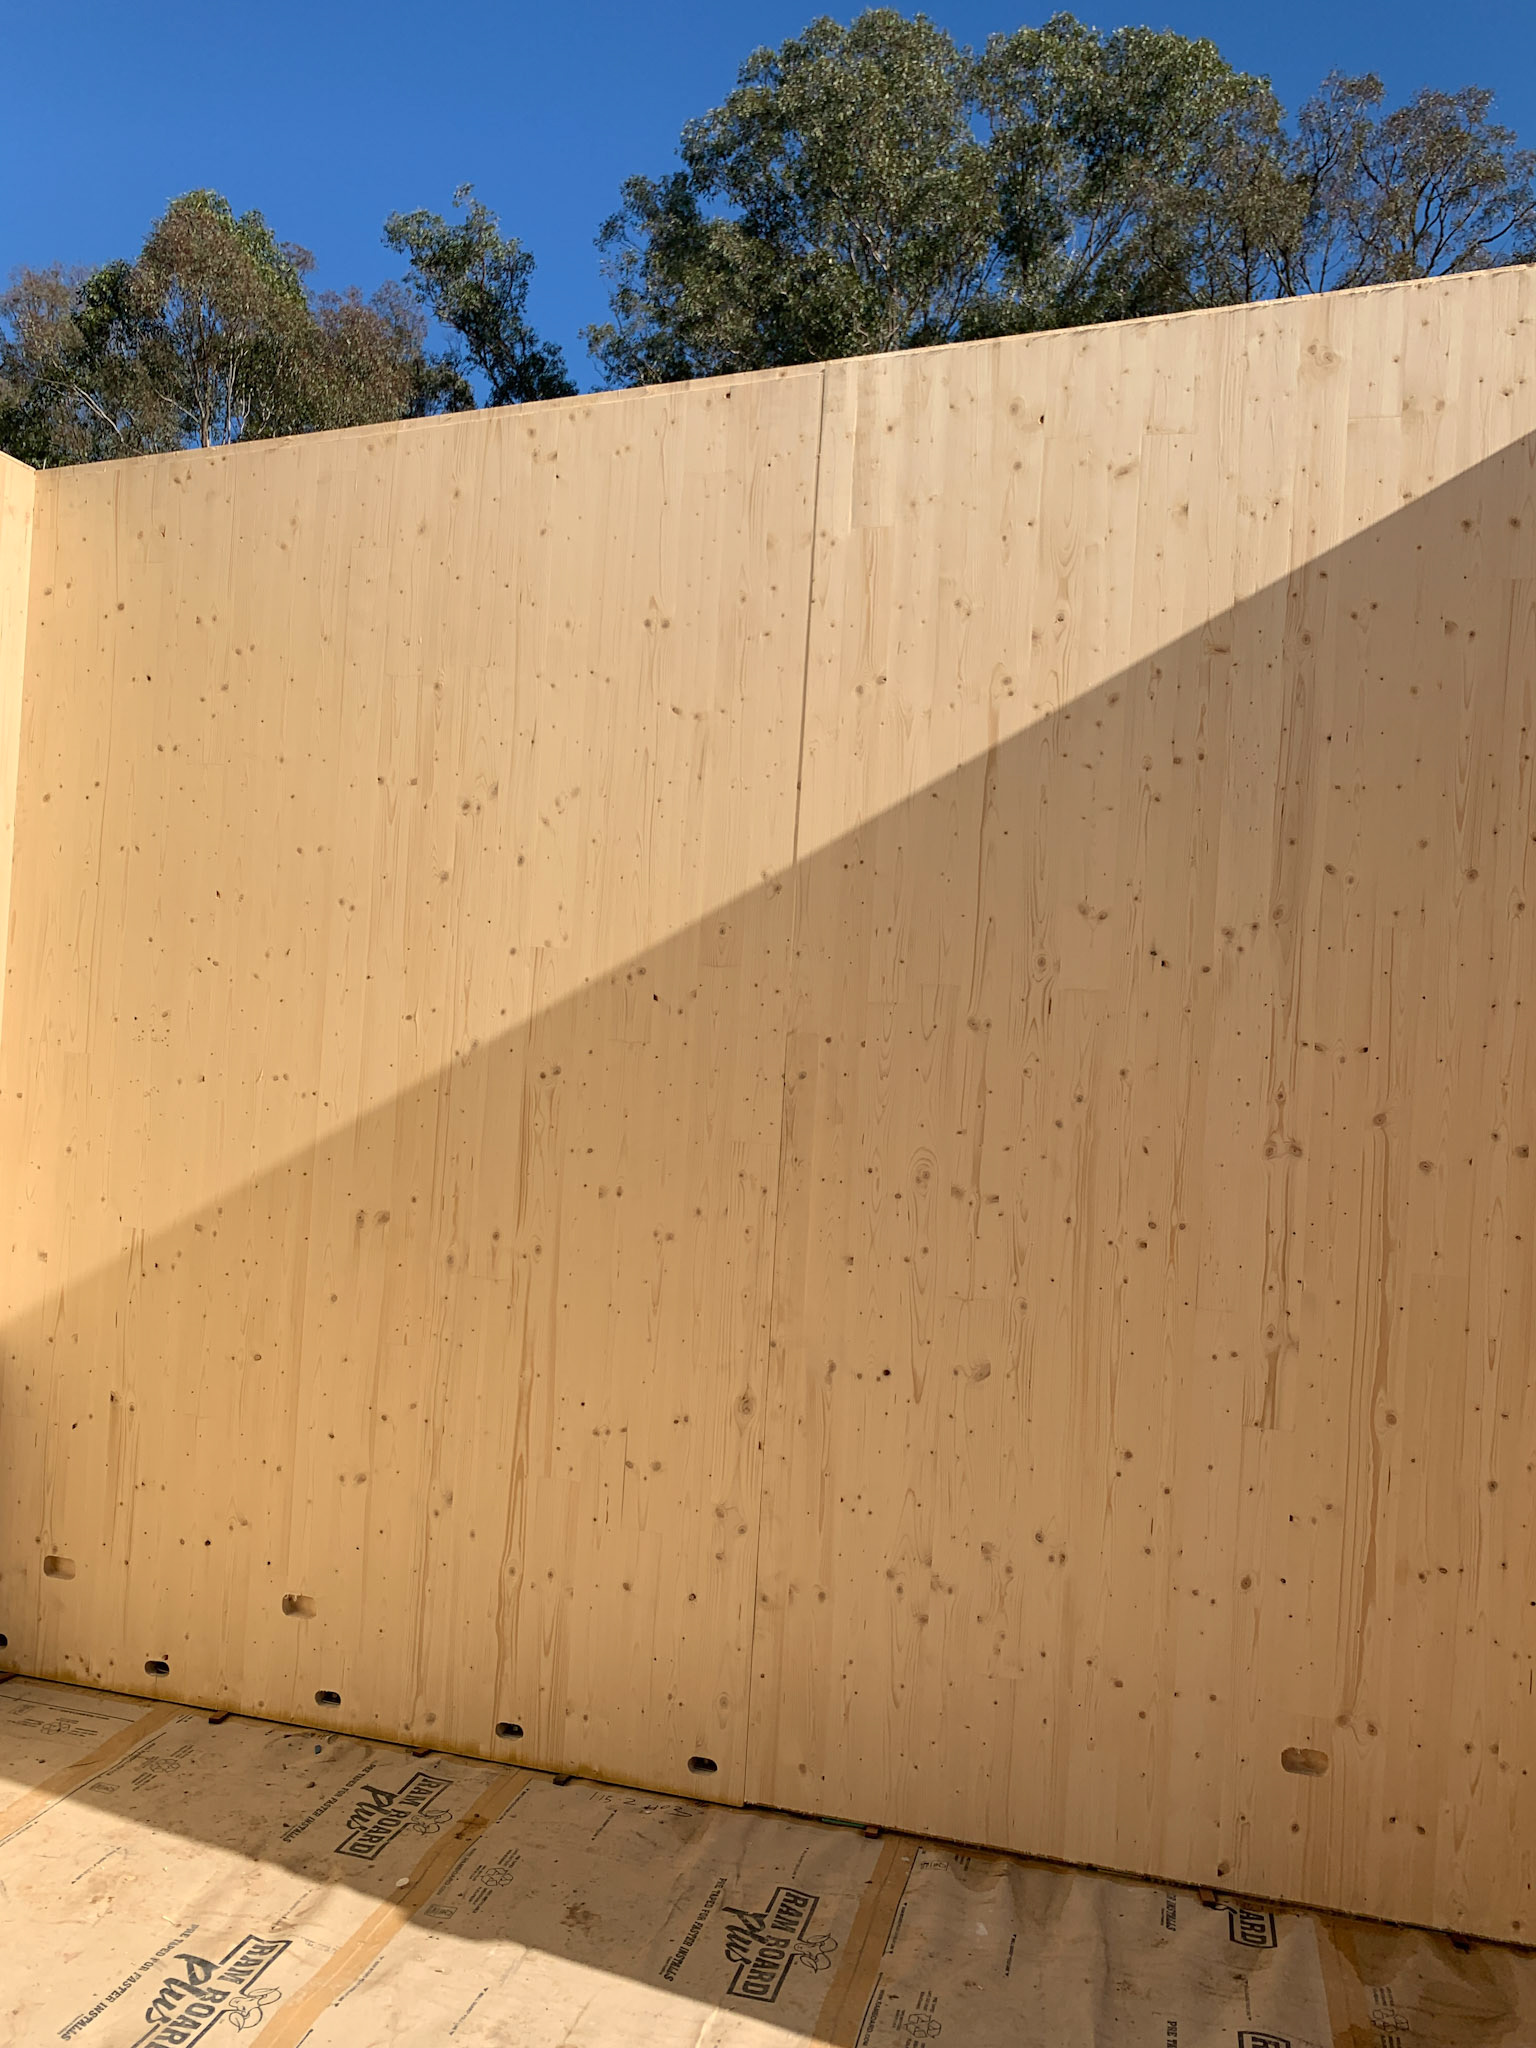
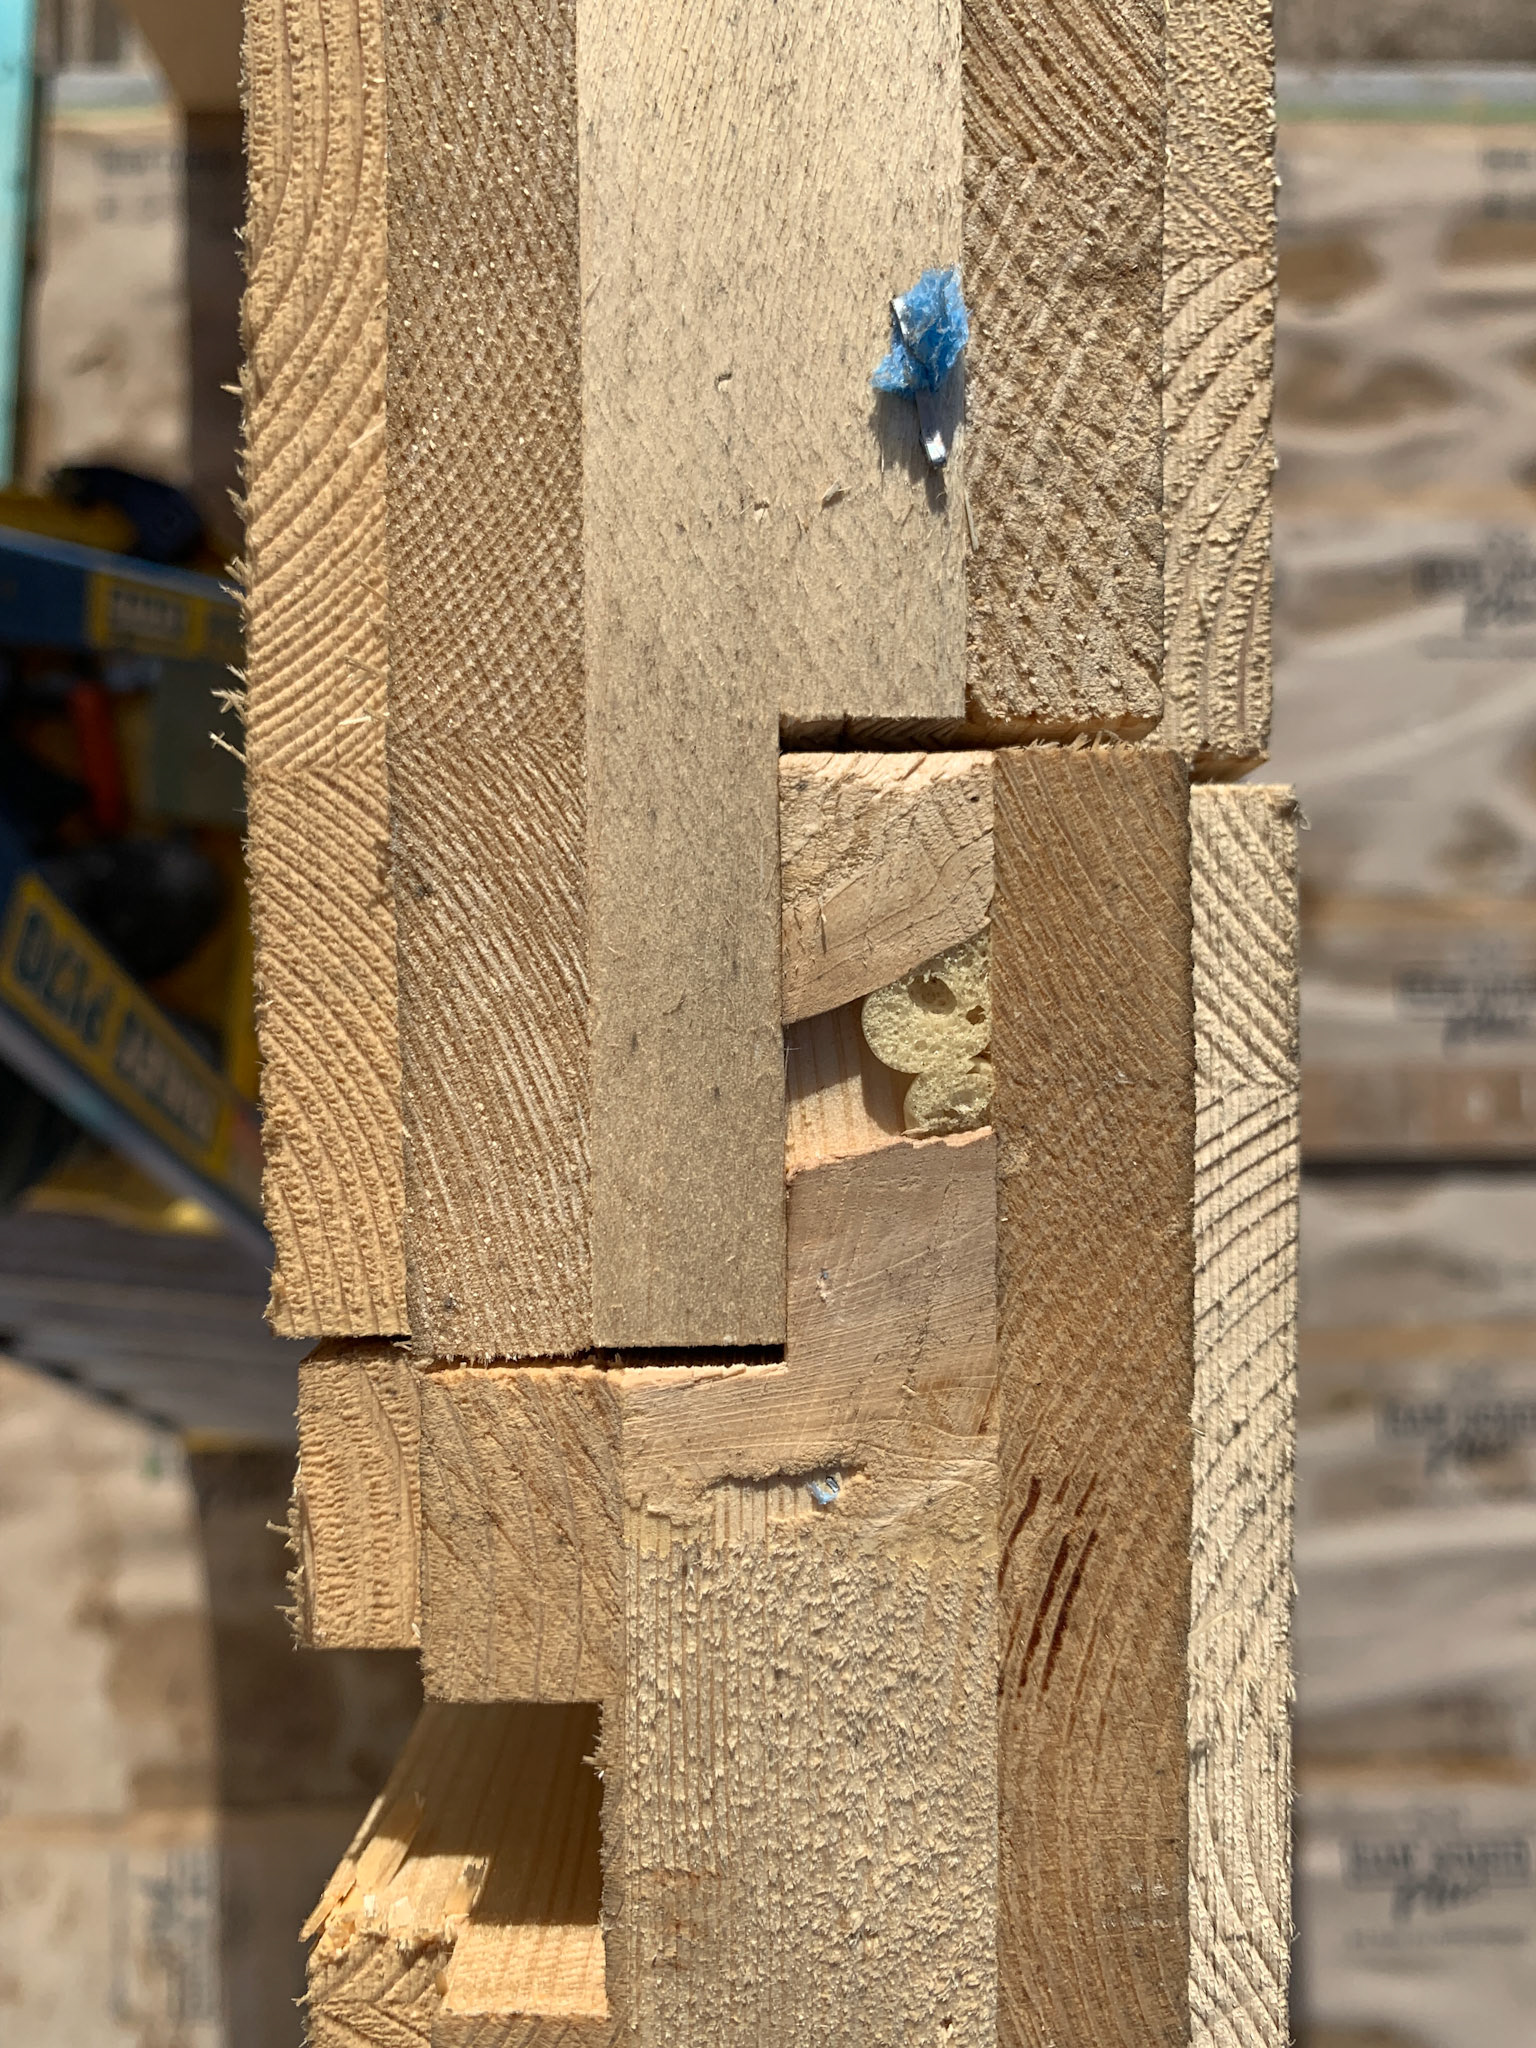
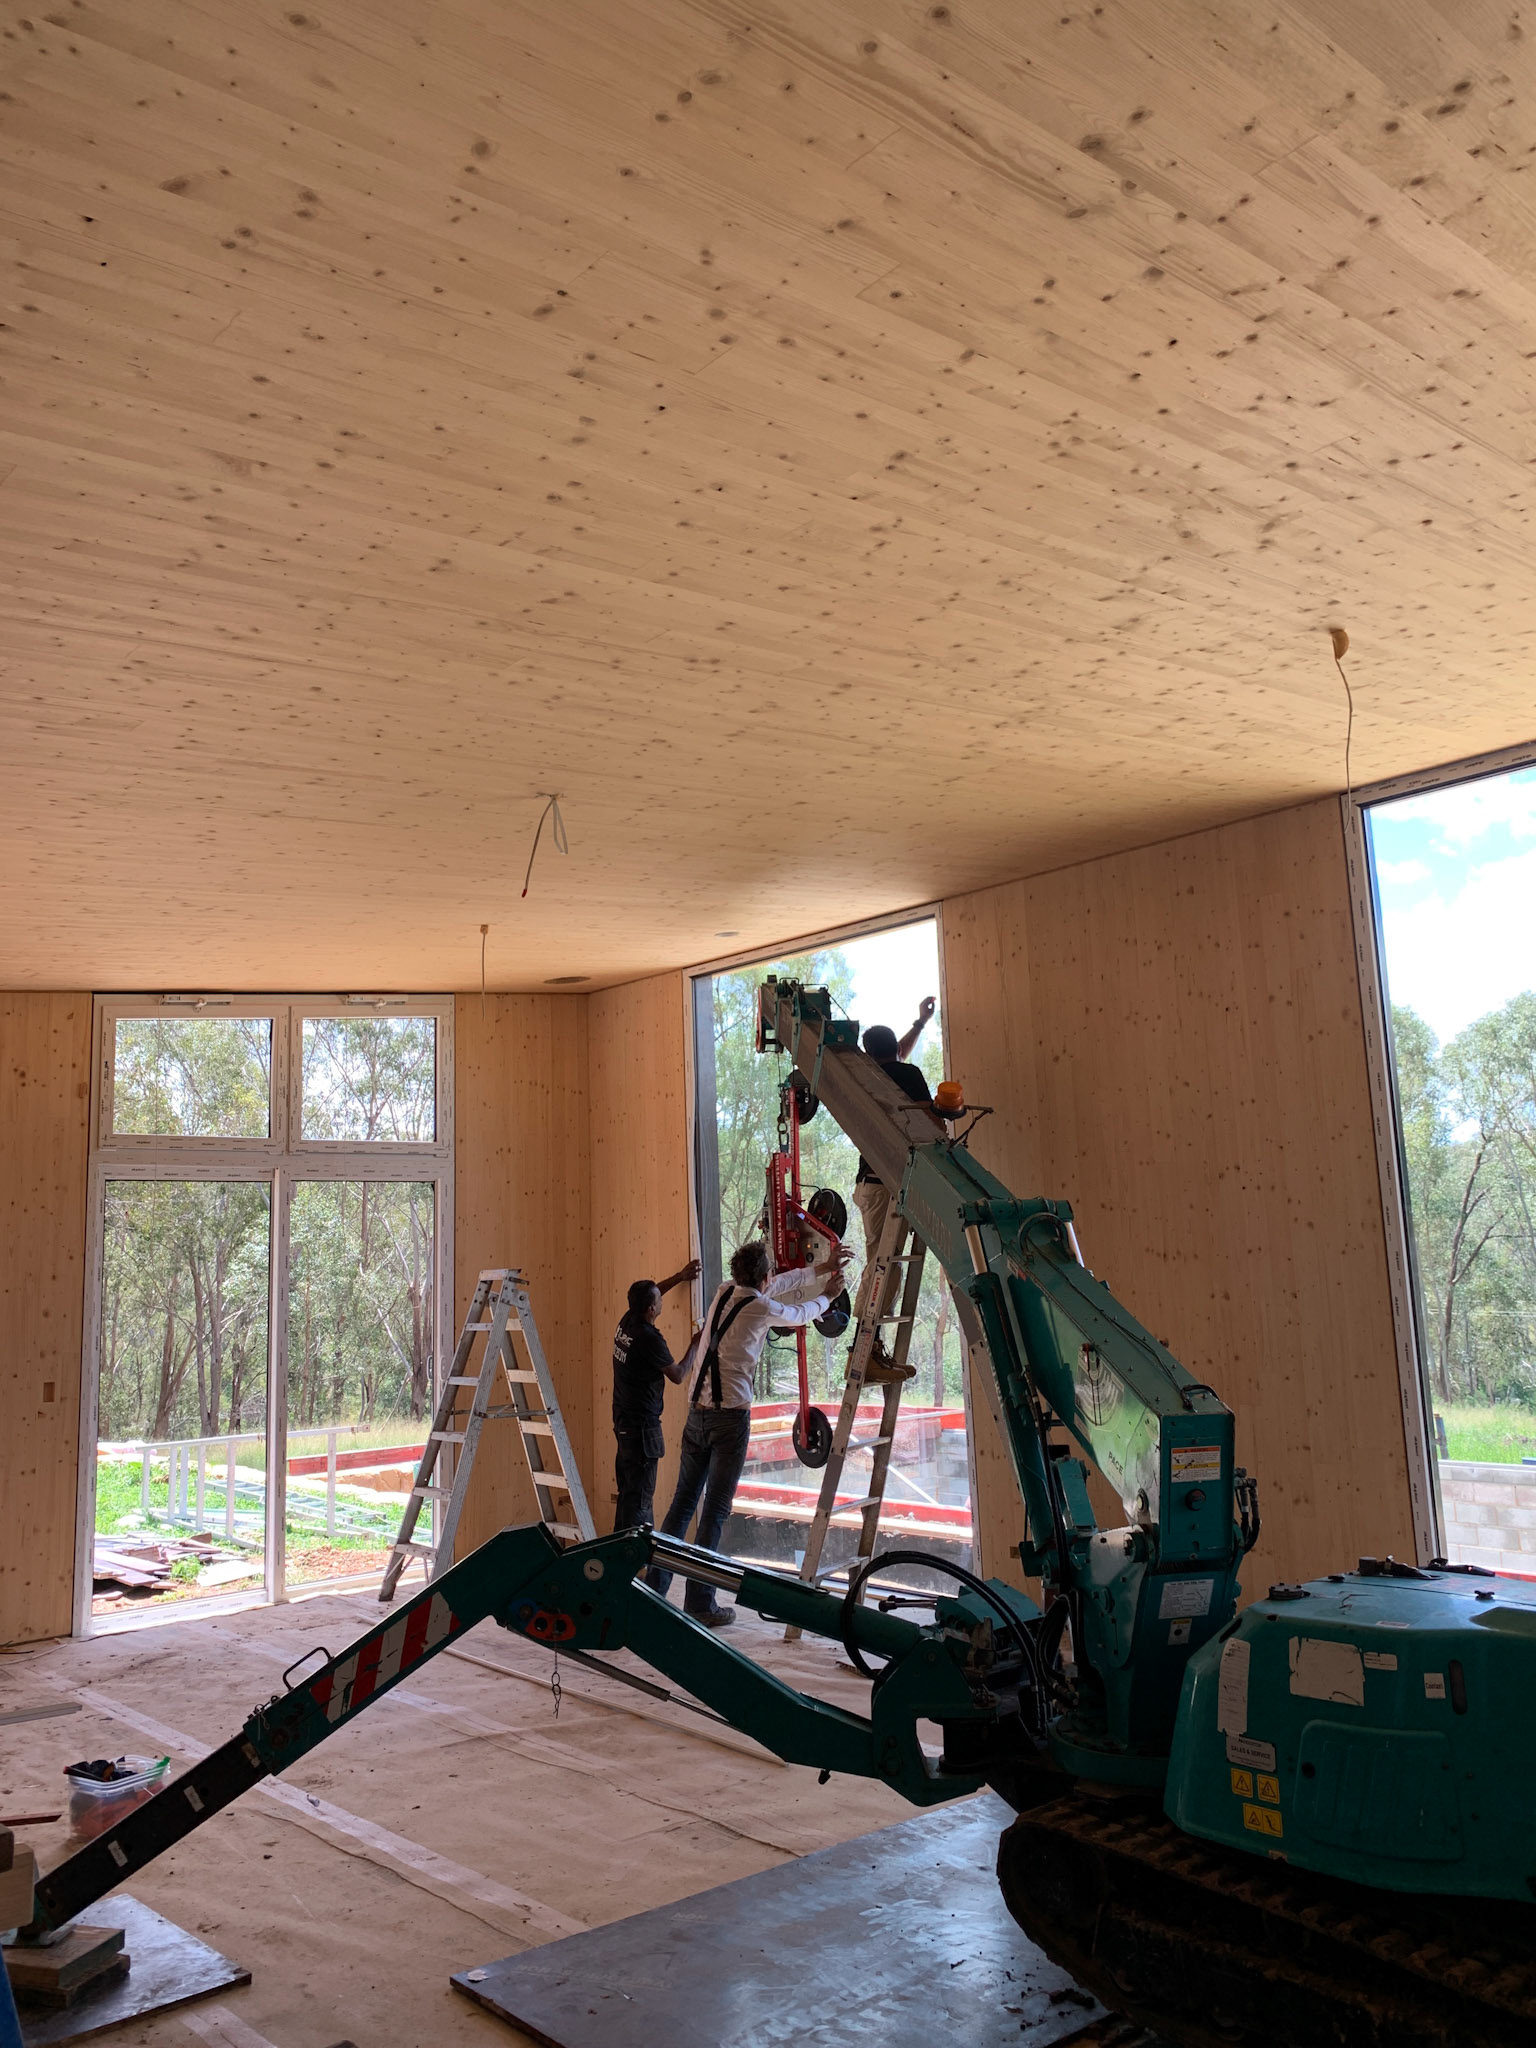
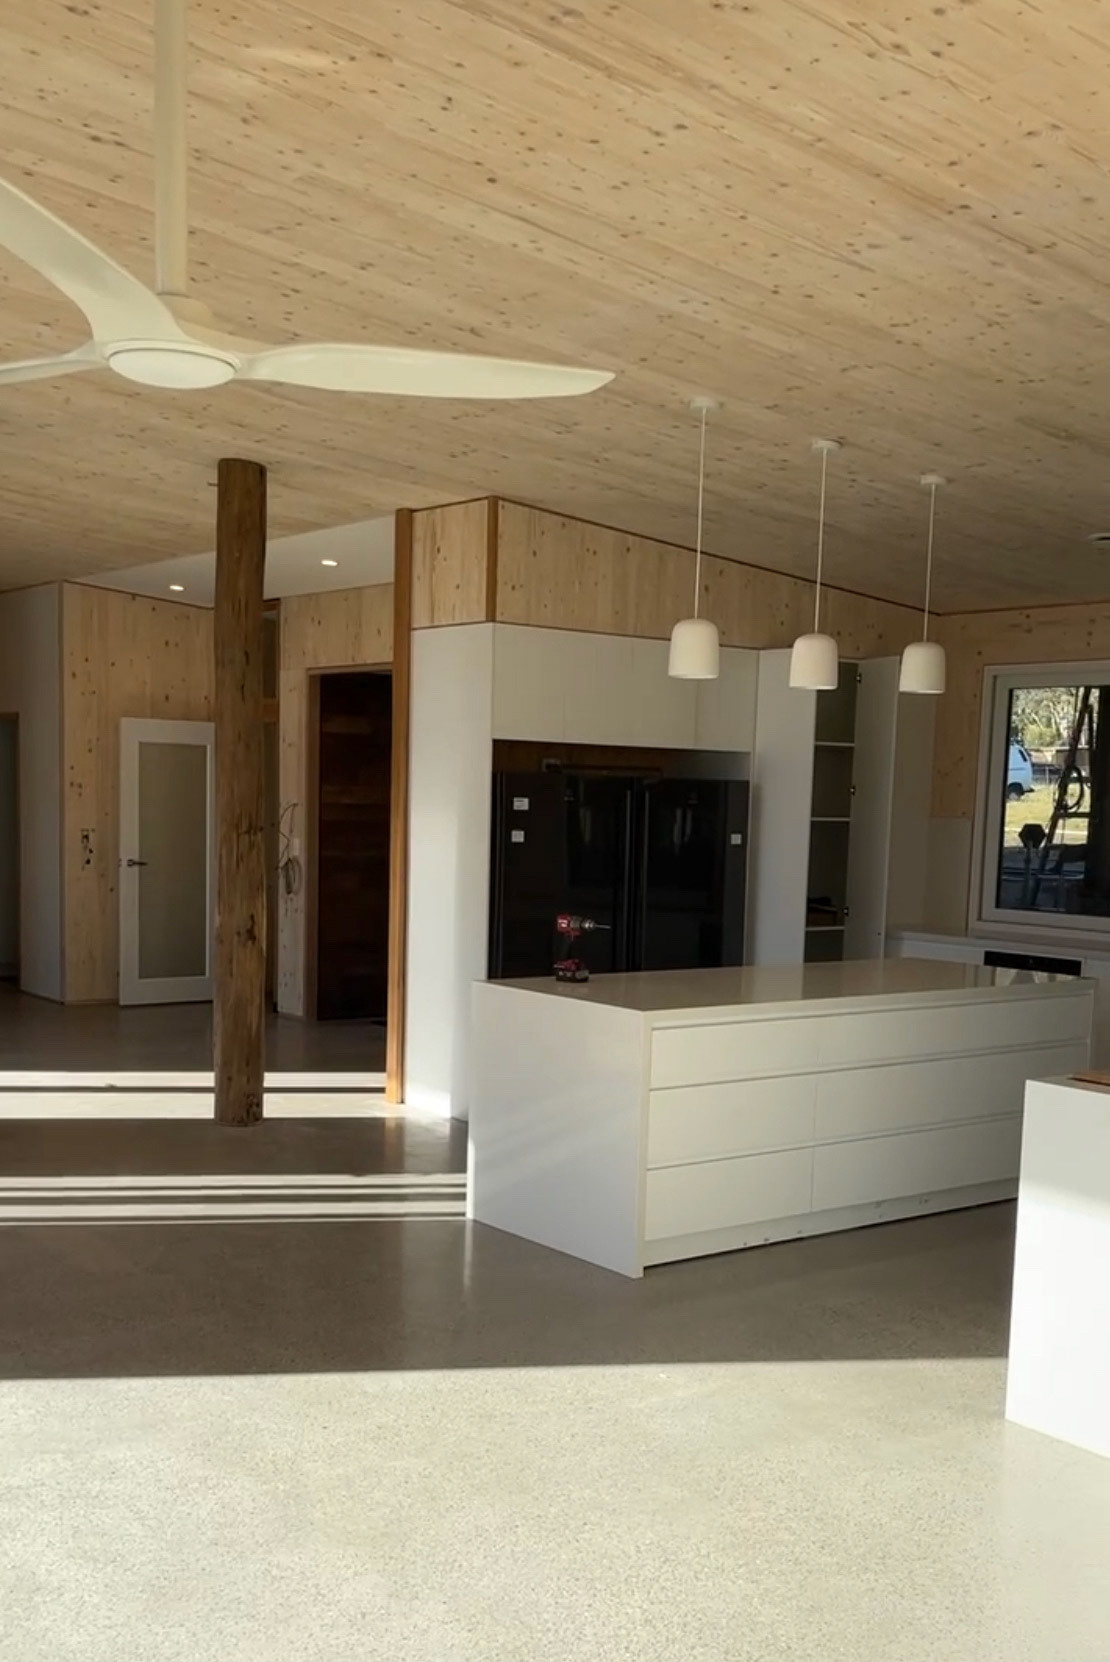
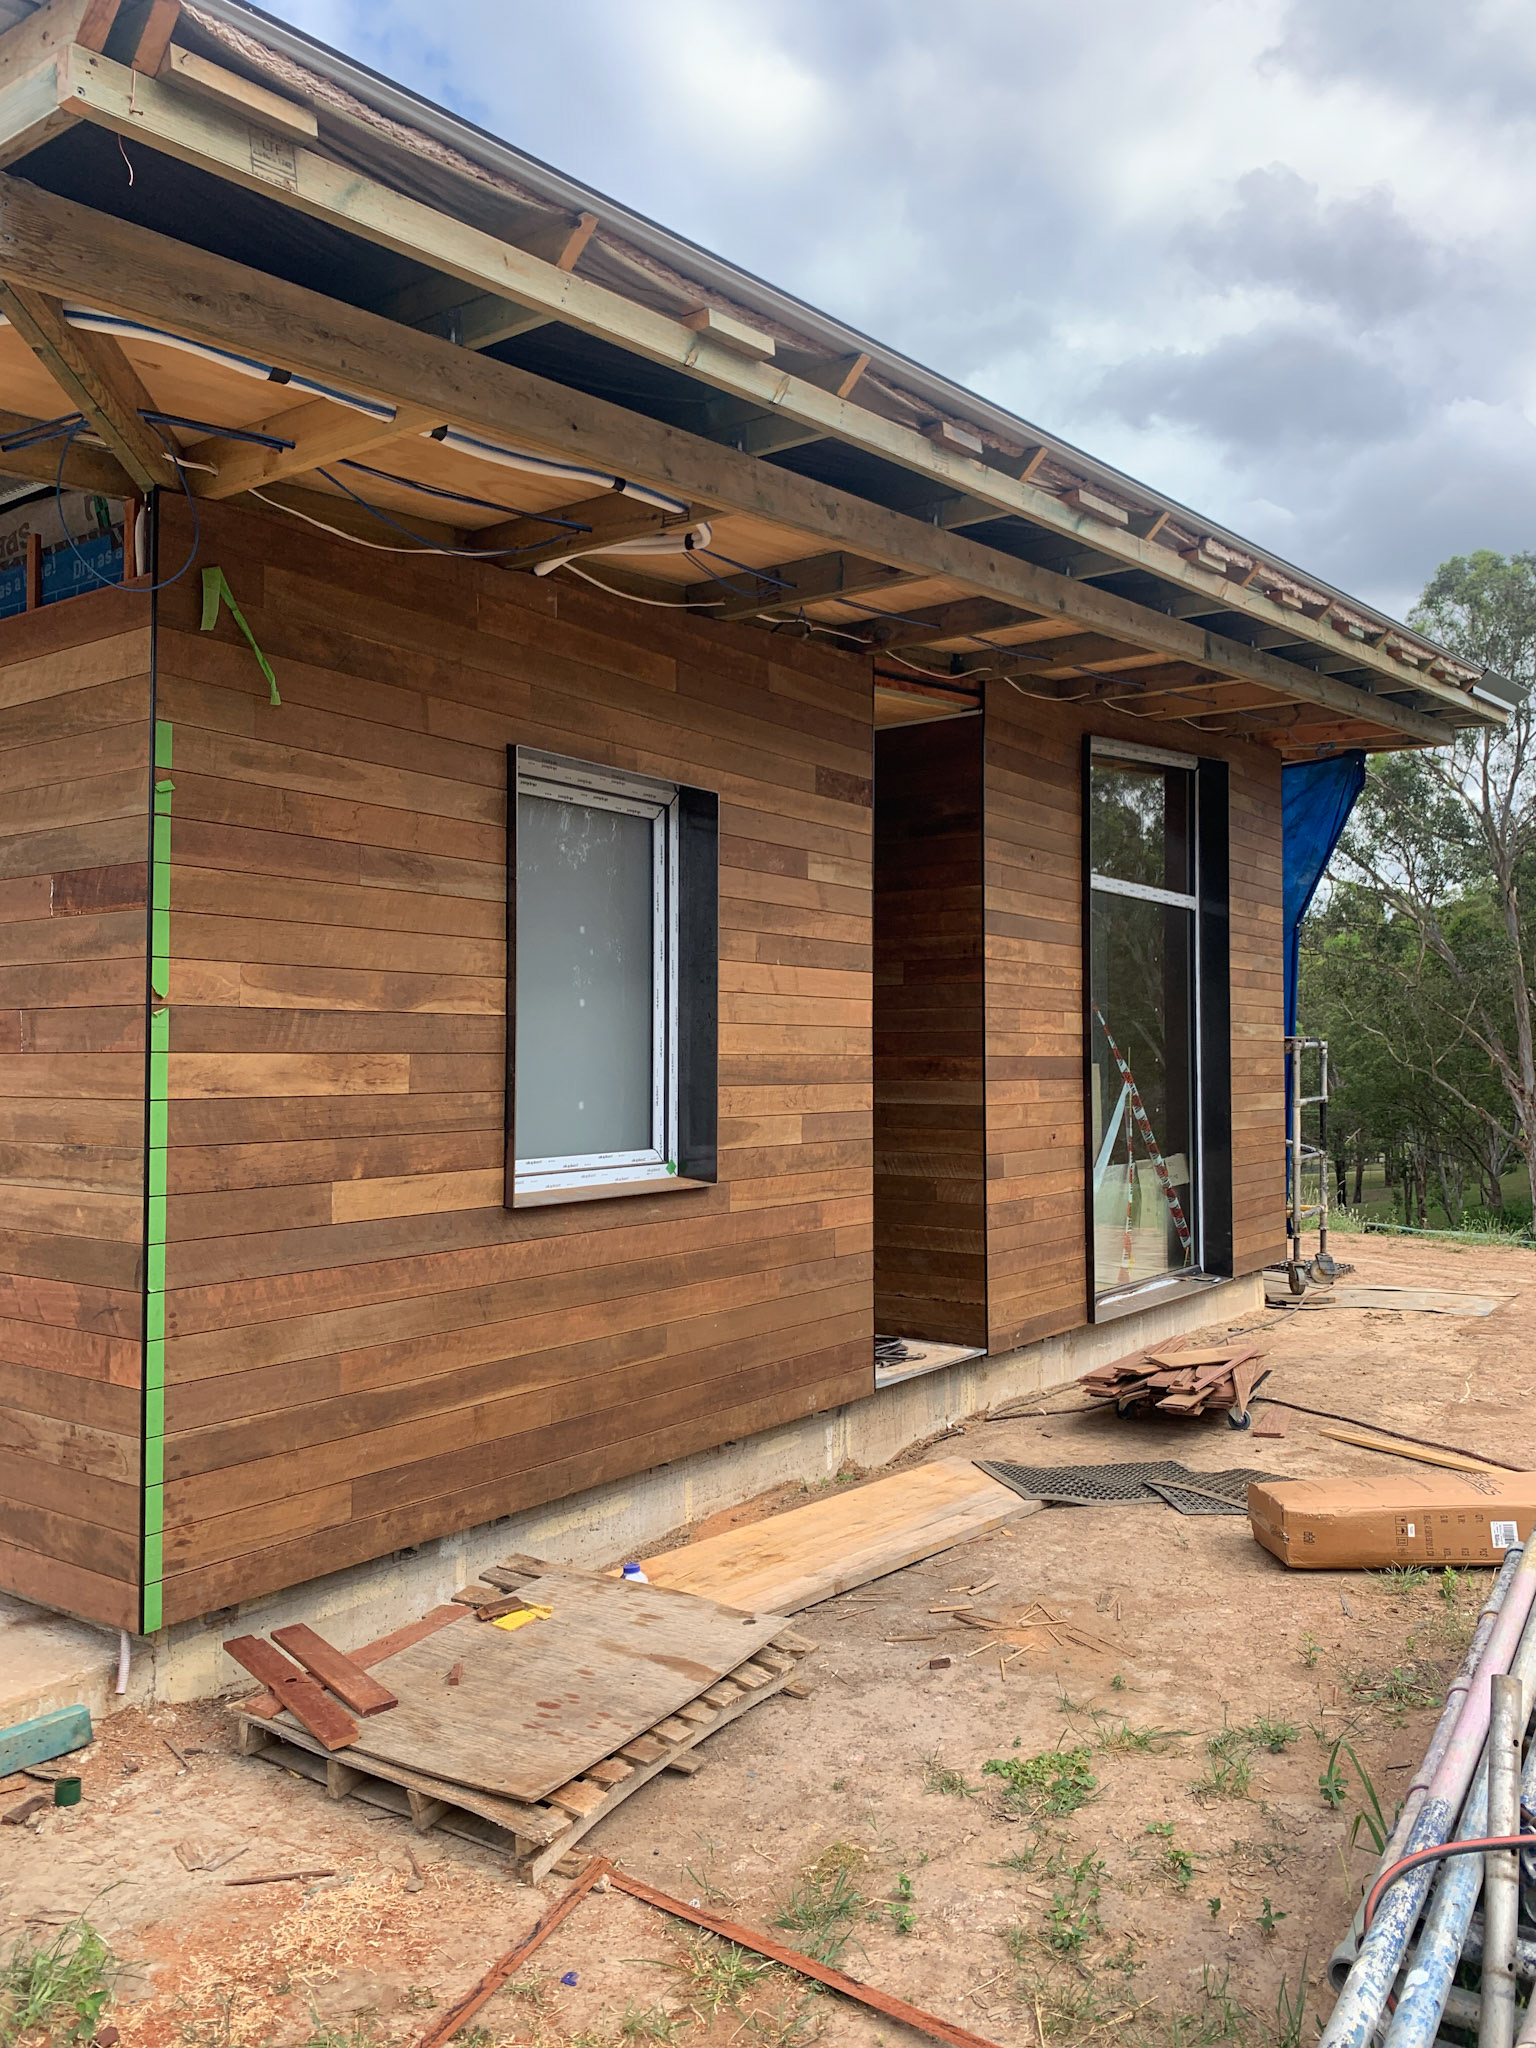
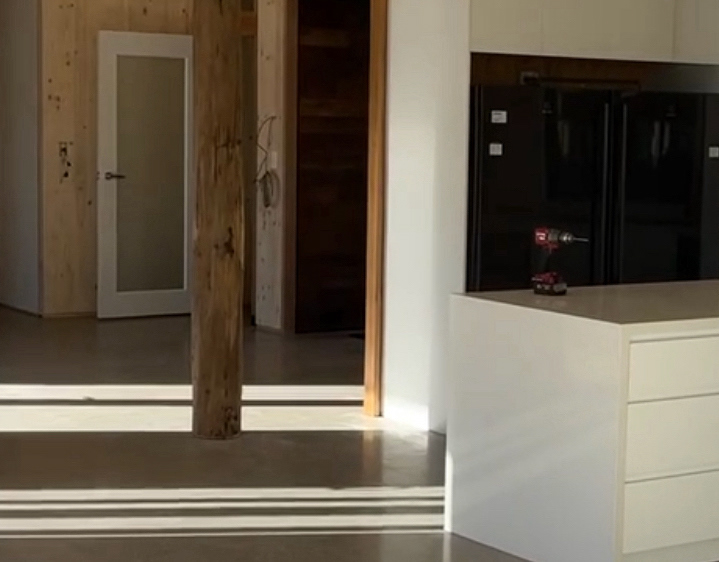
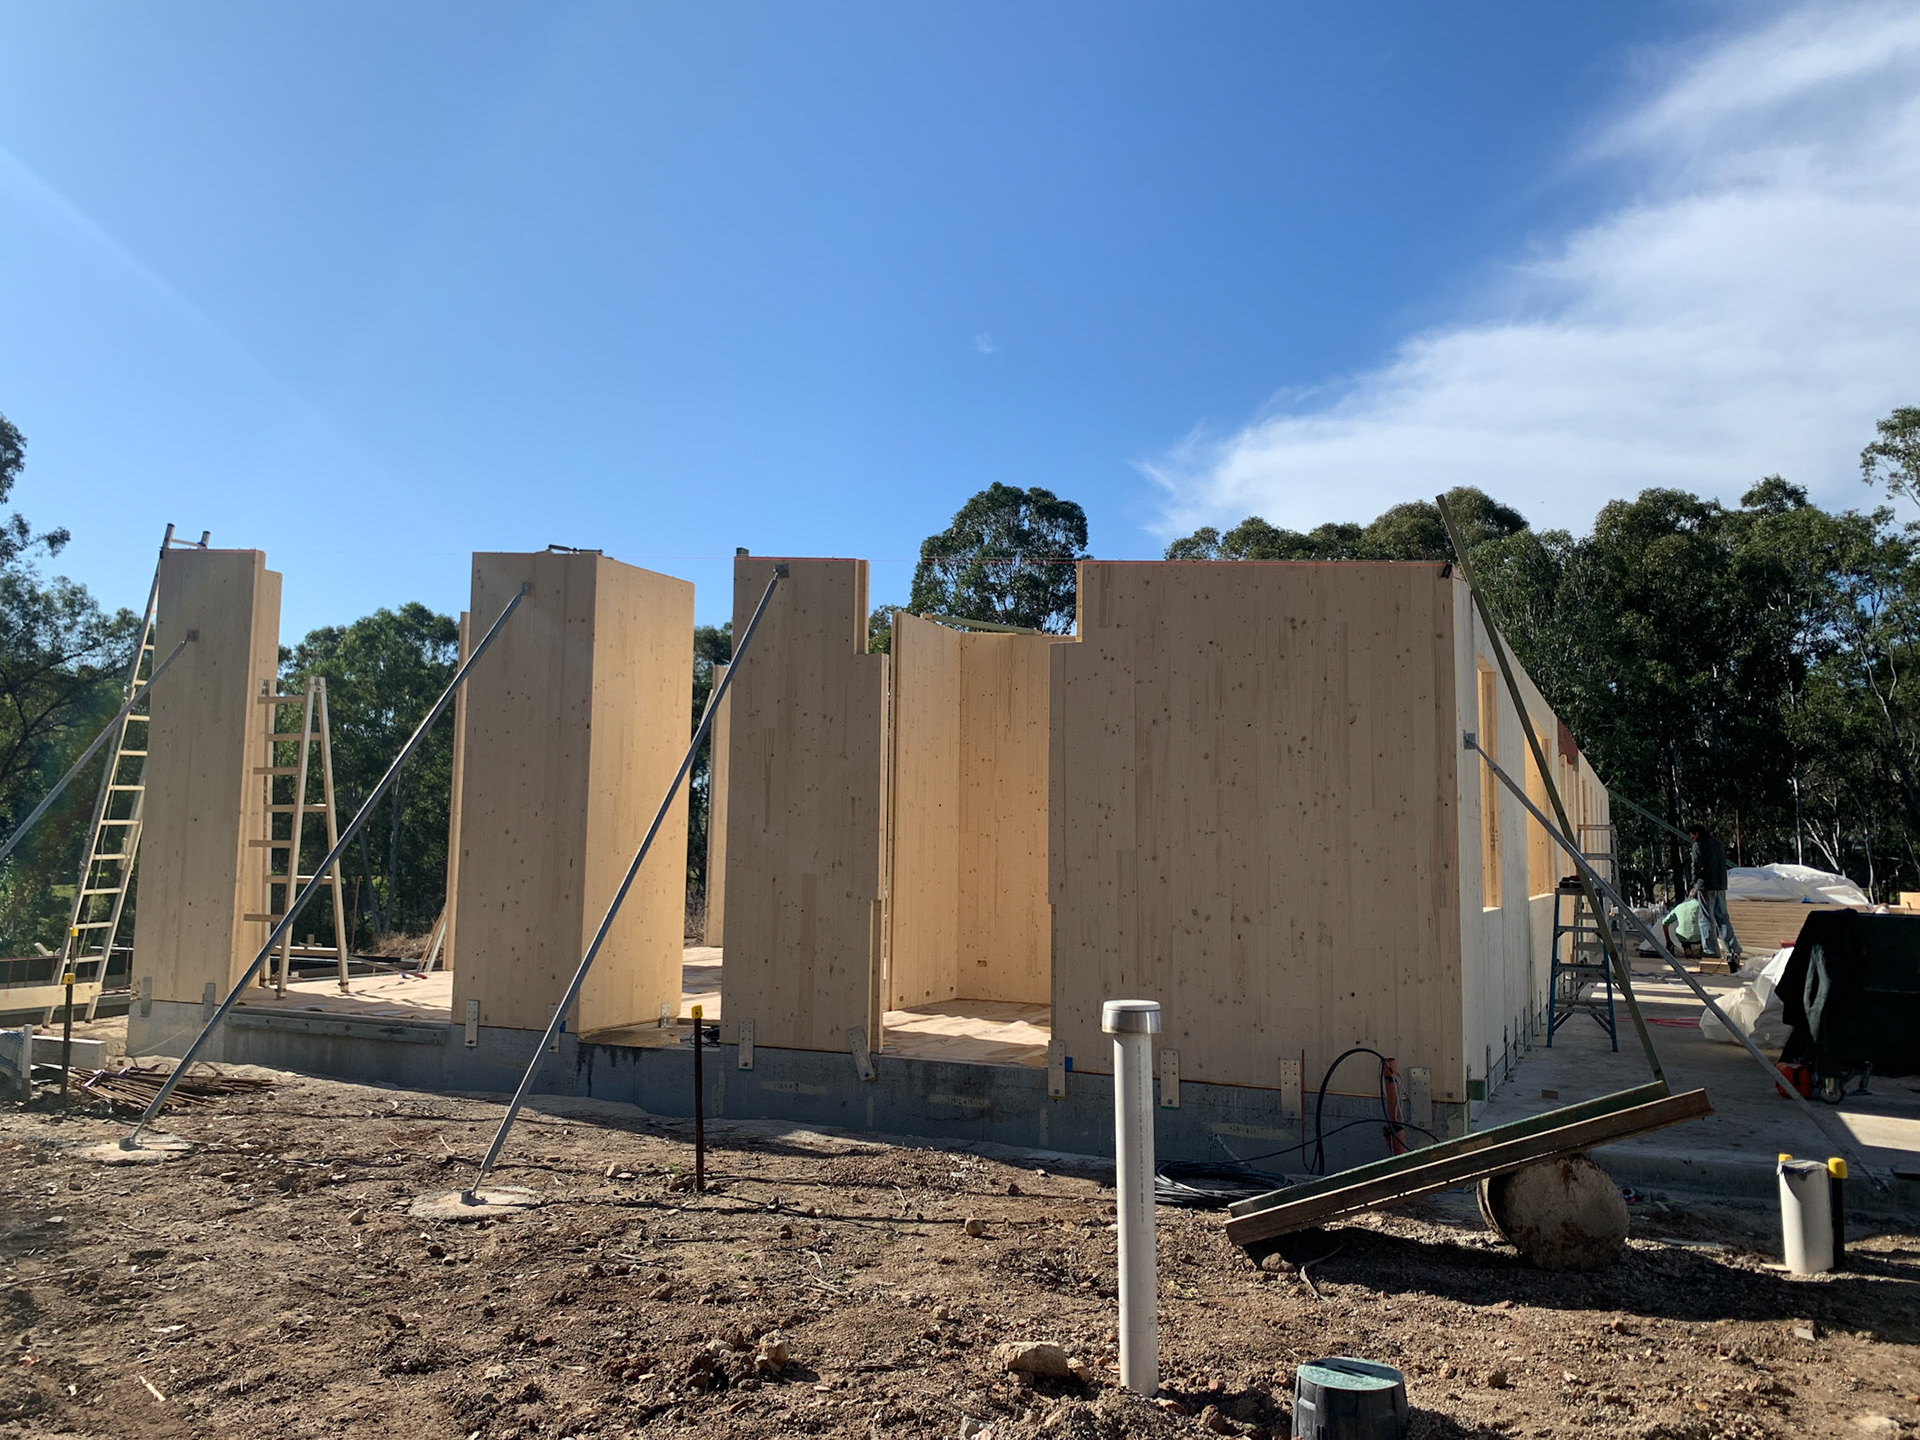
ITPs required a little extra time as exposed CLT walls and ceilings were specified to all internal surfaces other than wet areas, i.e. no internal plasterboard linings to hide any gaps.
ITPs completed prior to roof panel placement included final checks for wall plumbness, alignment, levelling and fixing off vertical joints to engineer specifications.
Did we have to purchase any expensive tools or equipment for the install?
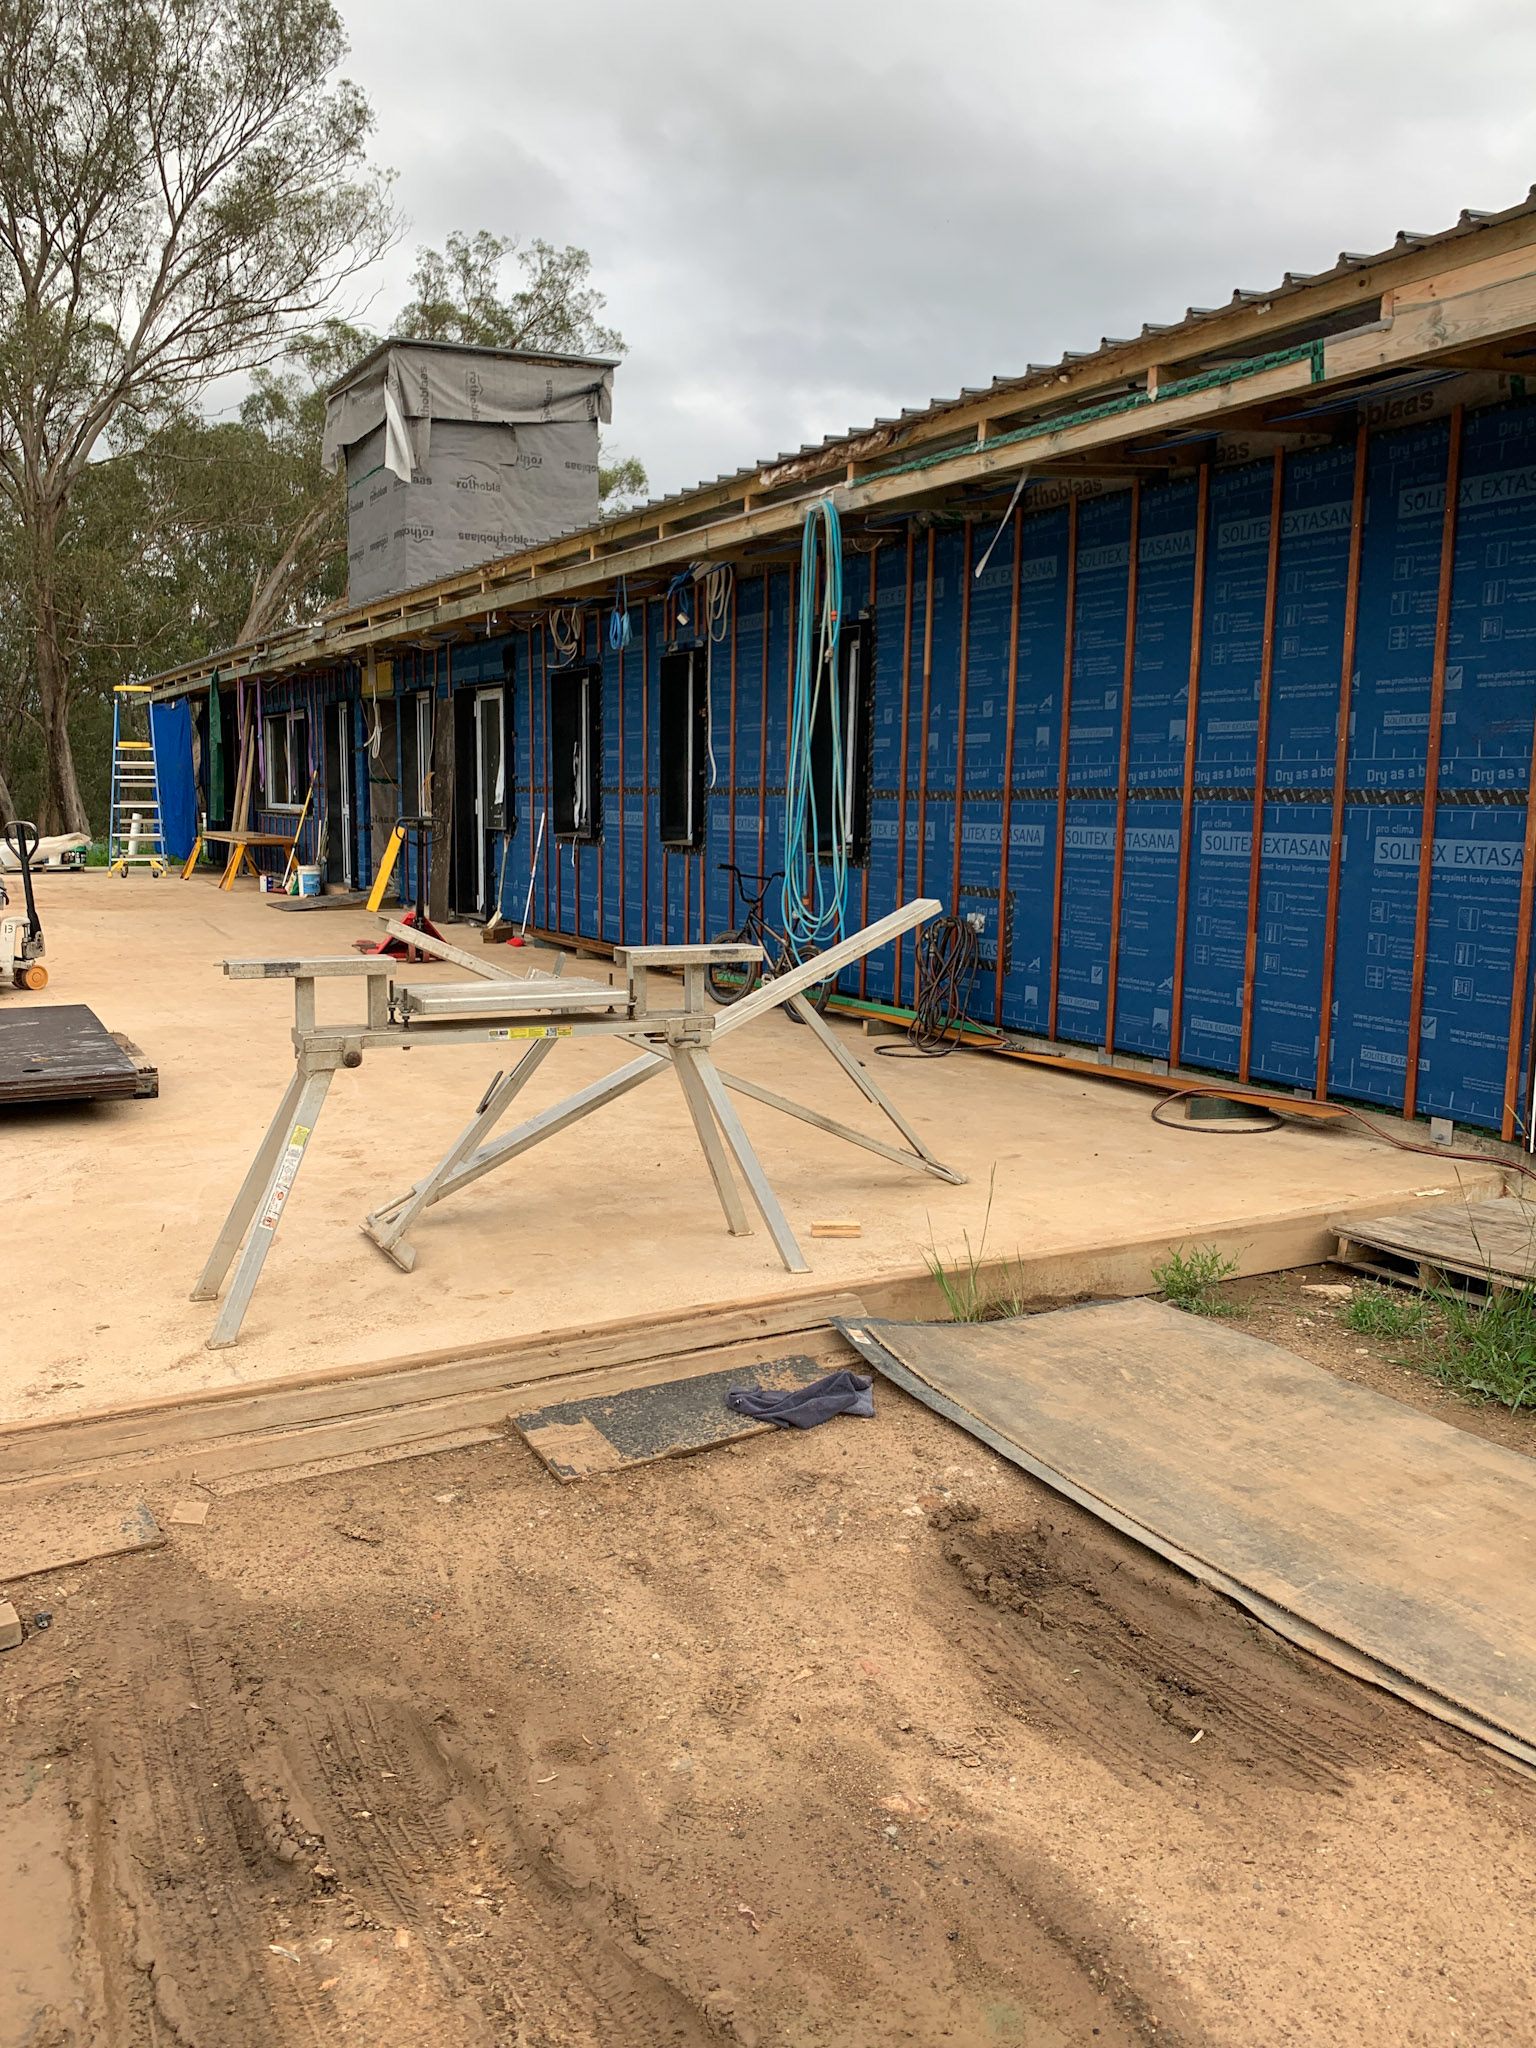
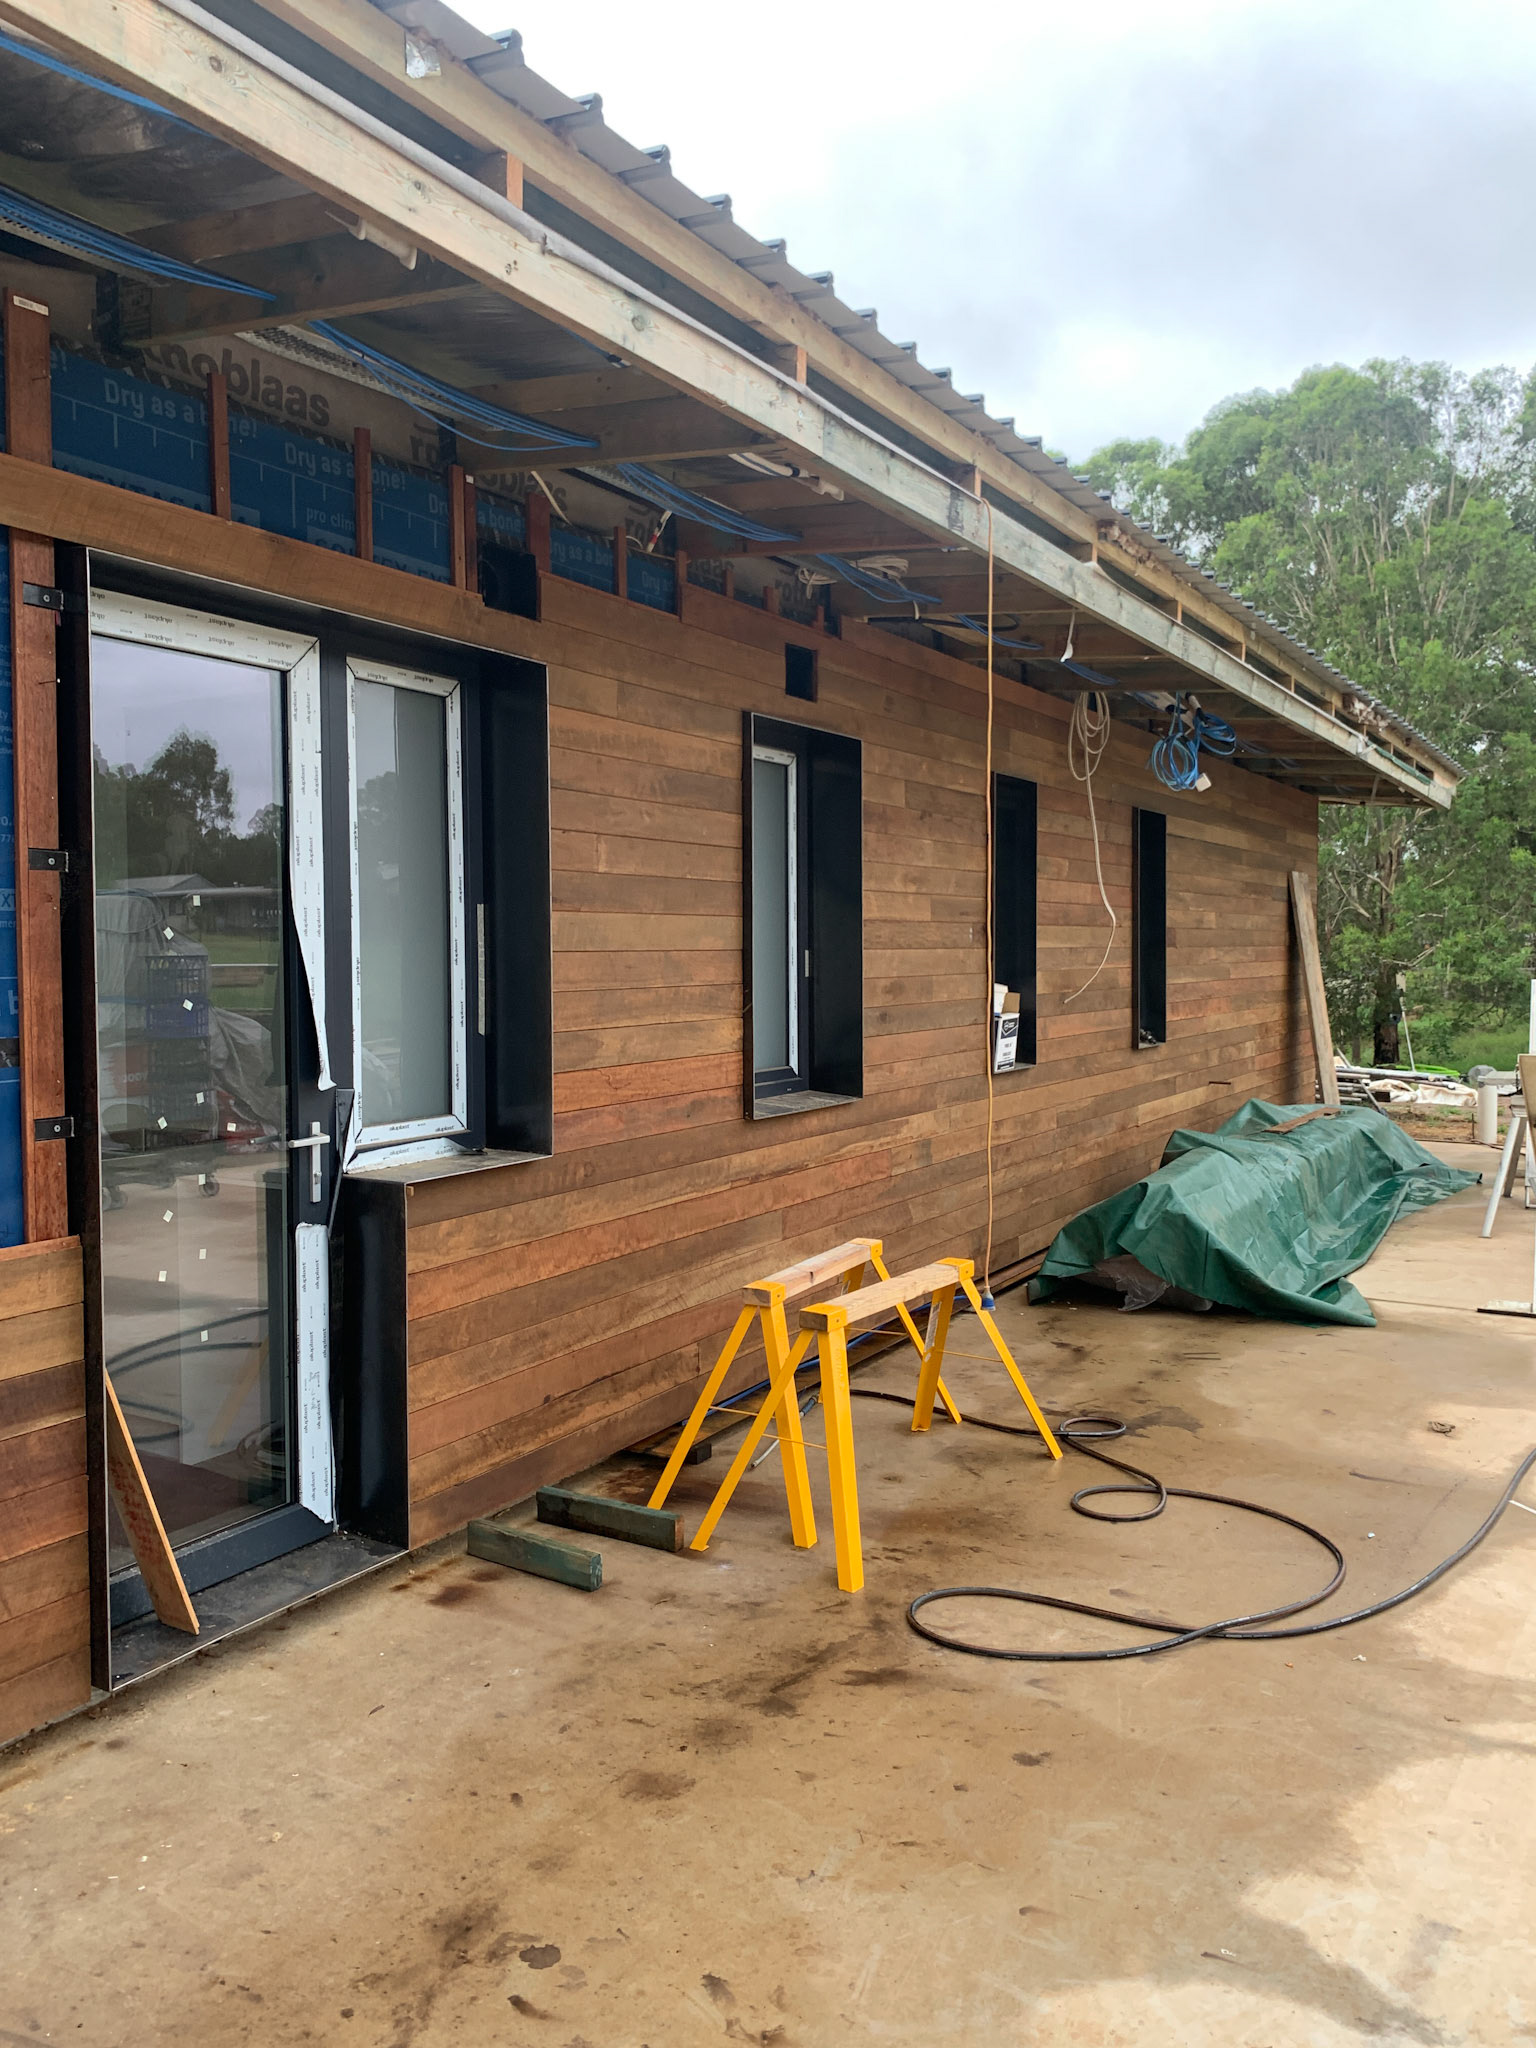
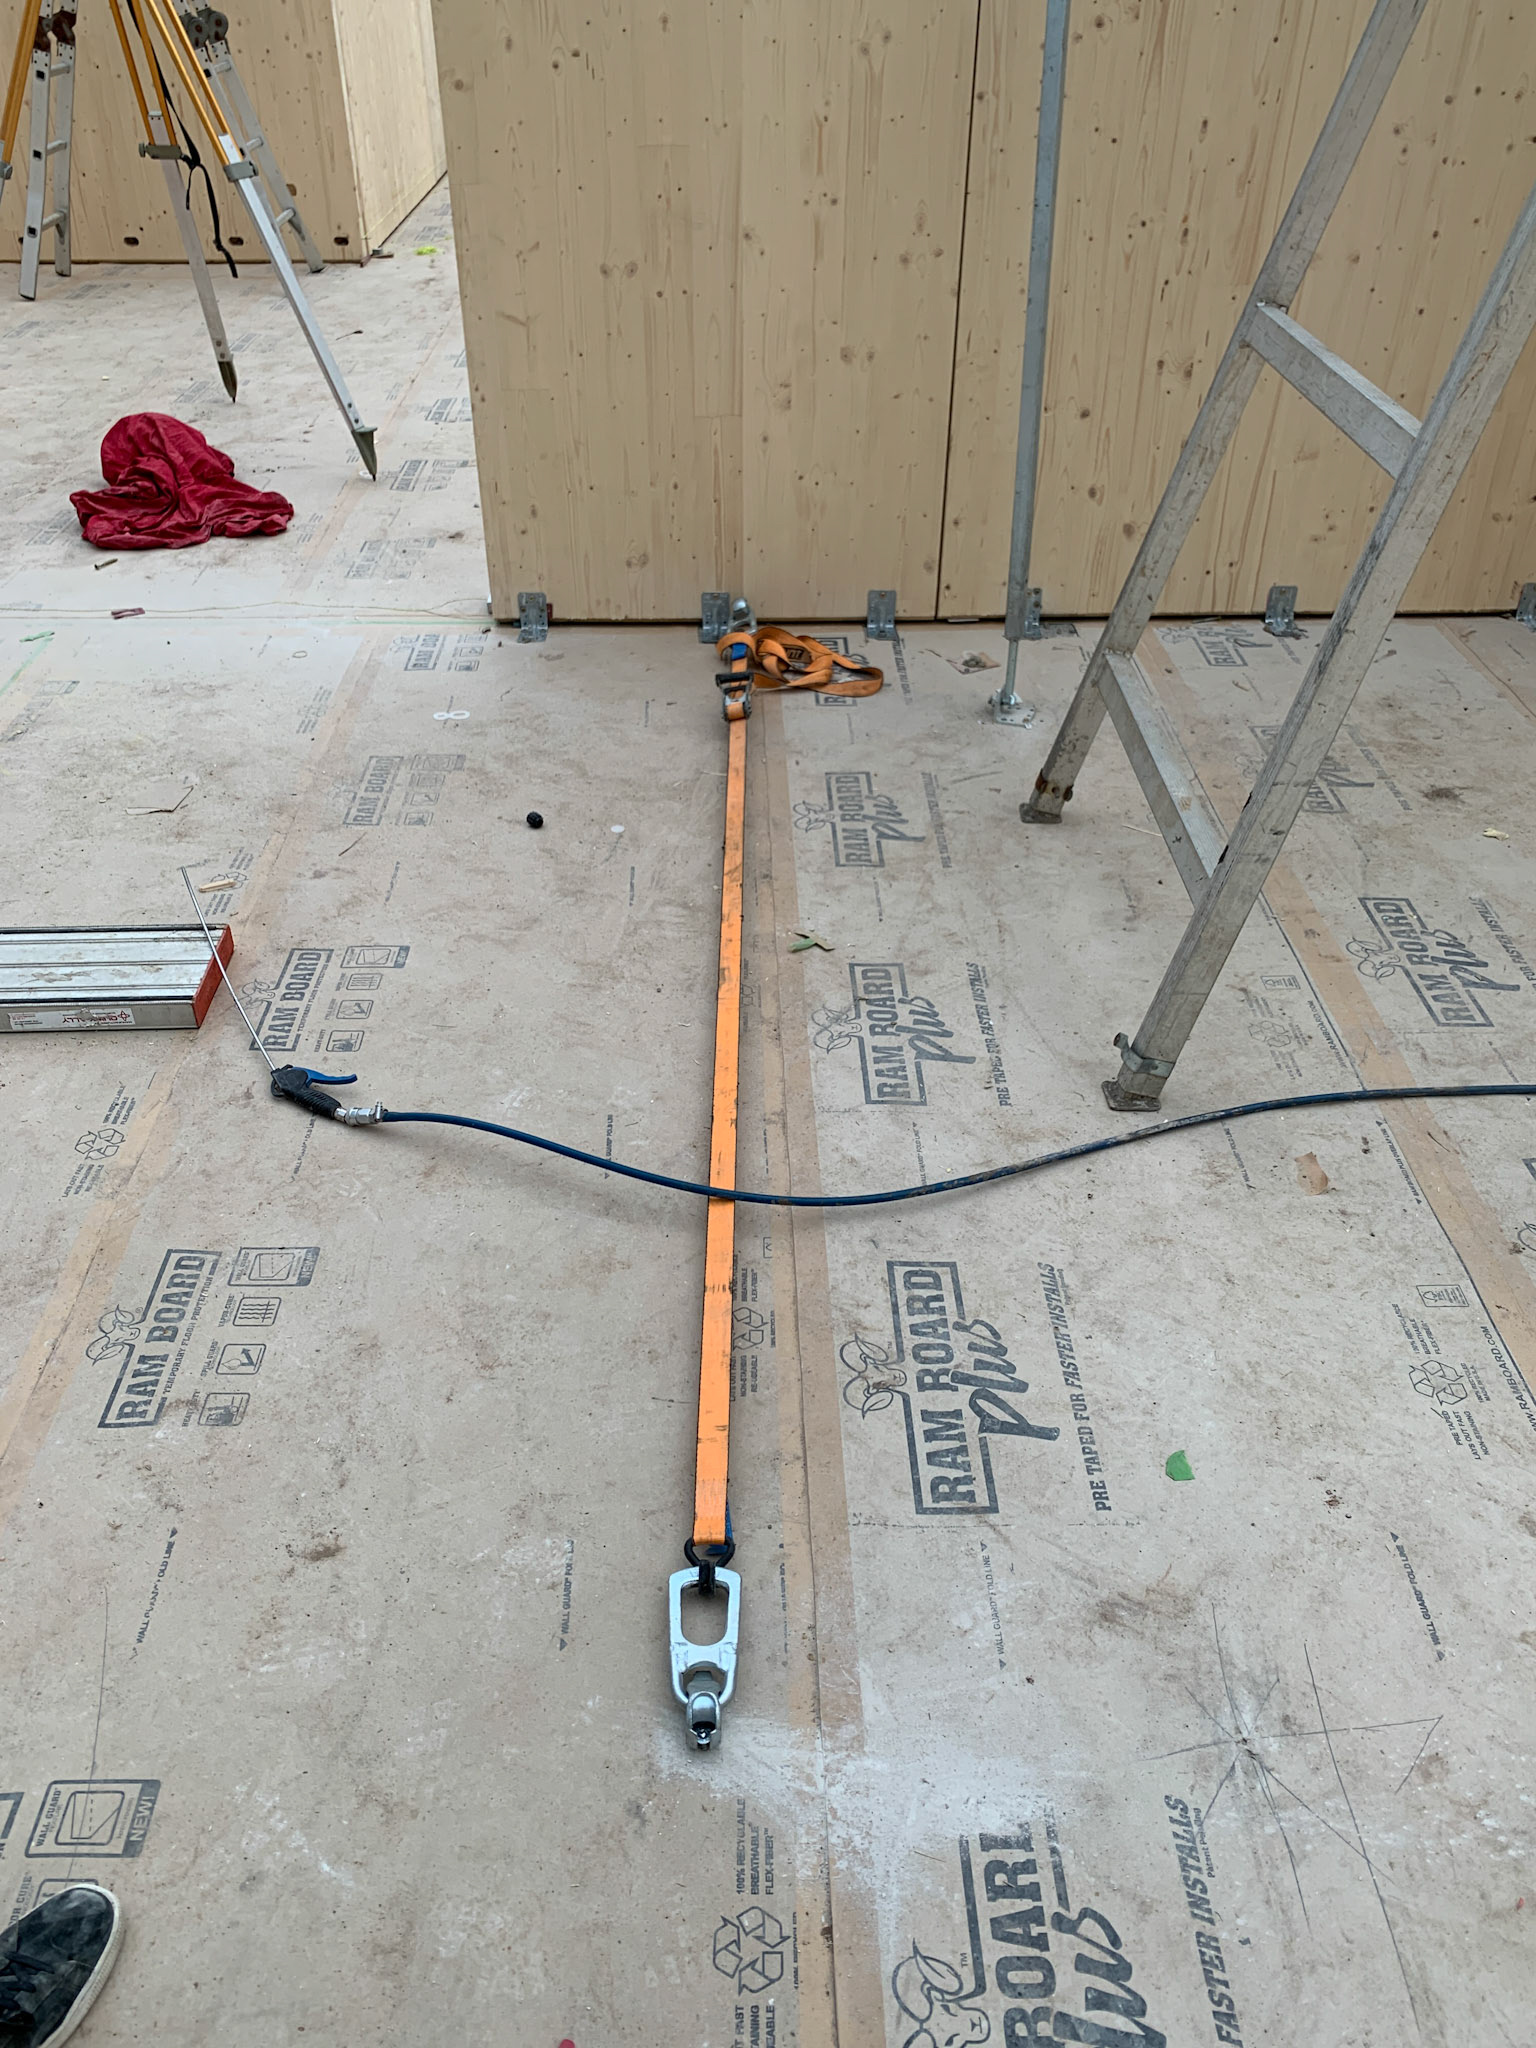
No. Any subcontract carpenter installing wall frames or trusses on a schedule of rates will have the right tools to complete the job. See the list Specific purchases made to complete the install below. YouTube provided advice on how we could simply modify load ratchet binders for pulling panels together at joints and avoid purchasing Rothoblaas Skorpio or Geko tools. As for temporary bracing we used the same adjustable props used for installing lightweight formwork, i.e. AFS, Dincel, Rediwall, Ritek, and for larger wall panels with a height greater than 3.5mt a #4 acrow props with swivel heads attachments at base and top. For propping up raking roof panels prior to fixing off upstand beams we used a combination of #2 and #4 acrow props with a swivel head attachment at the top.
Would we approach the install any differently next time?
Yes. We are always happy to share our viewpoints though not limited to the list below related to design and install:
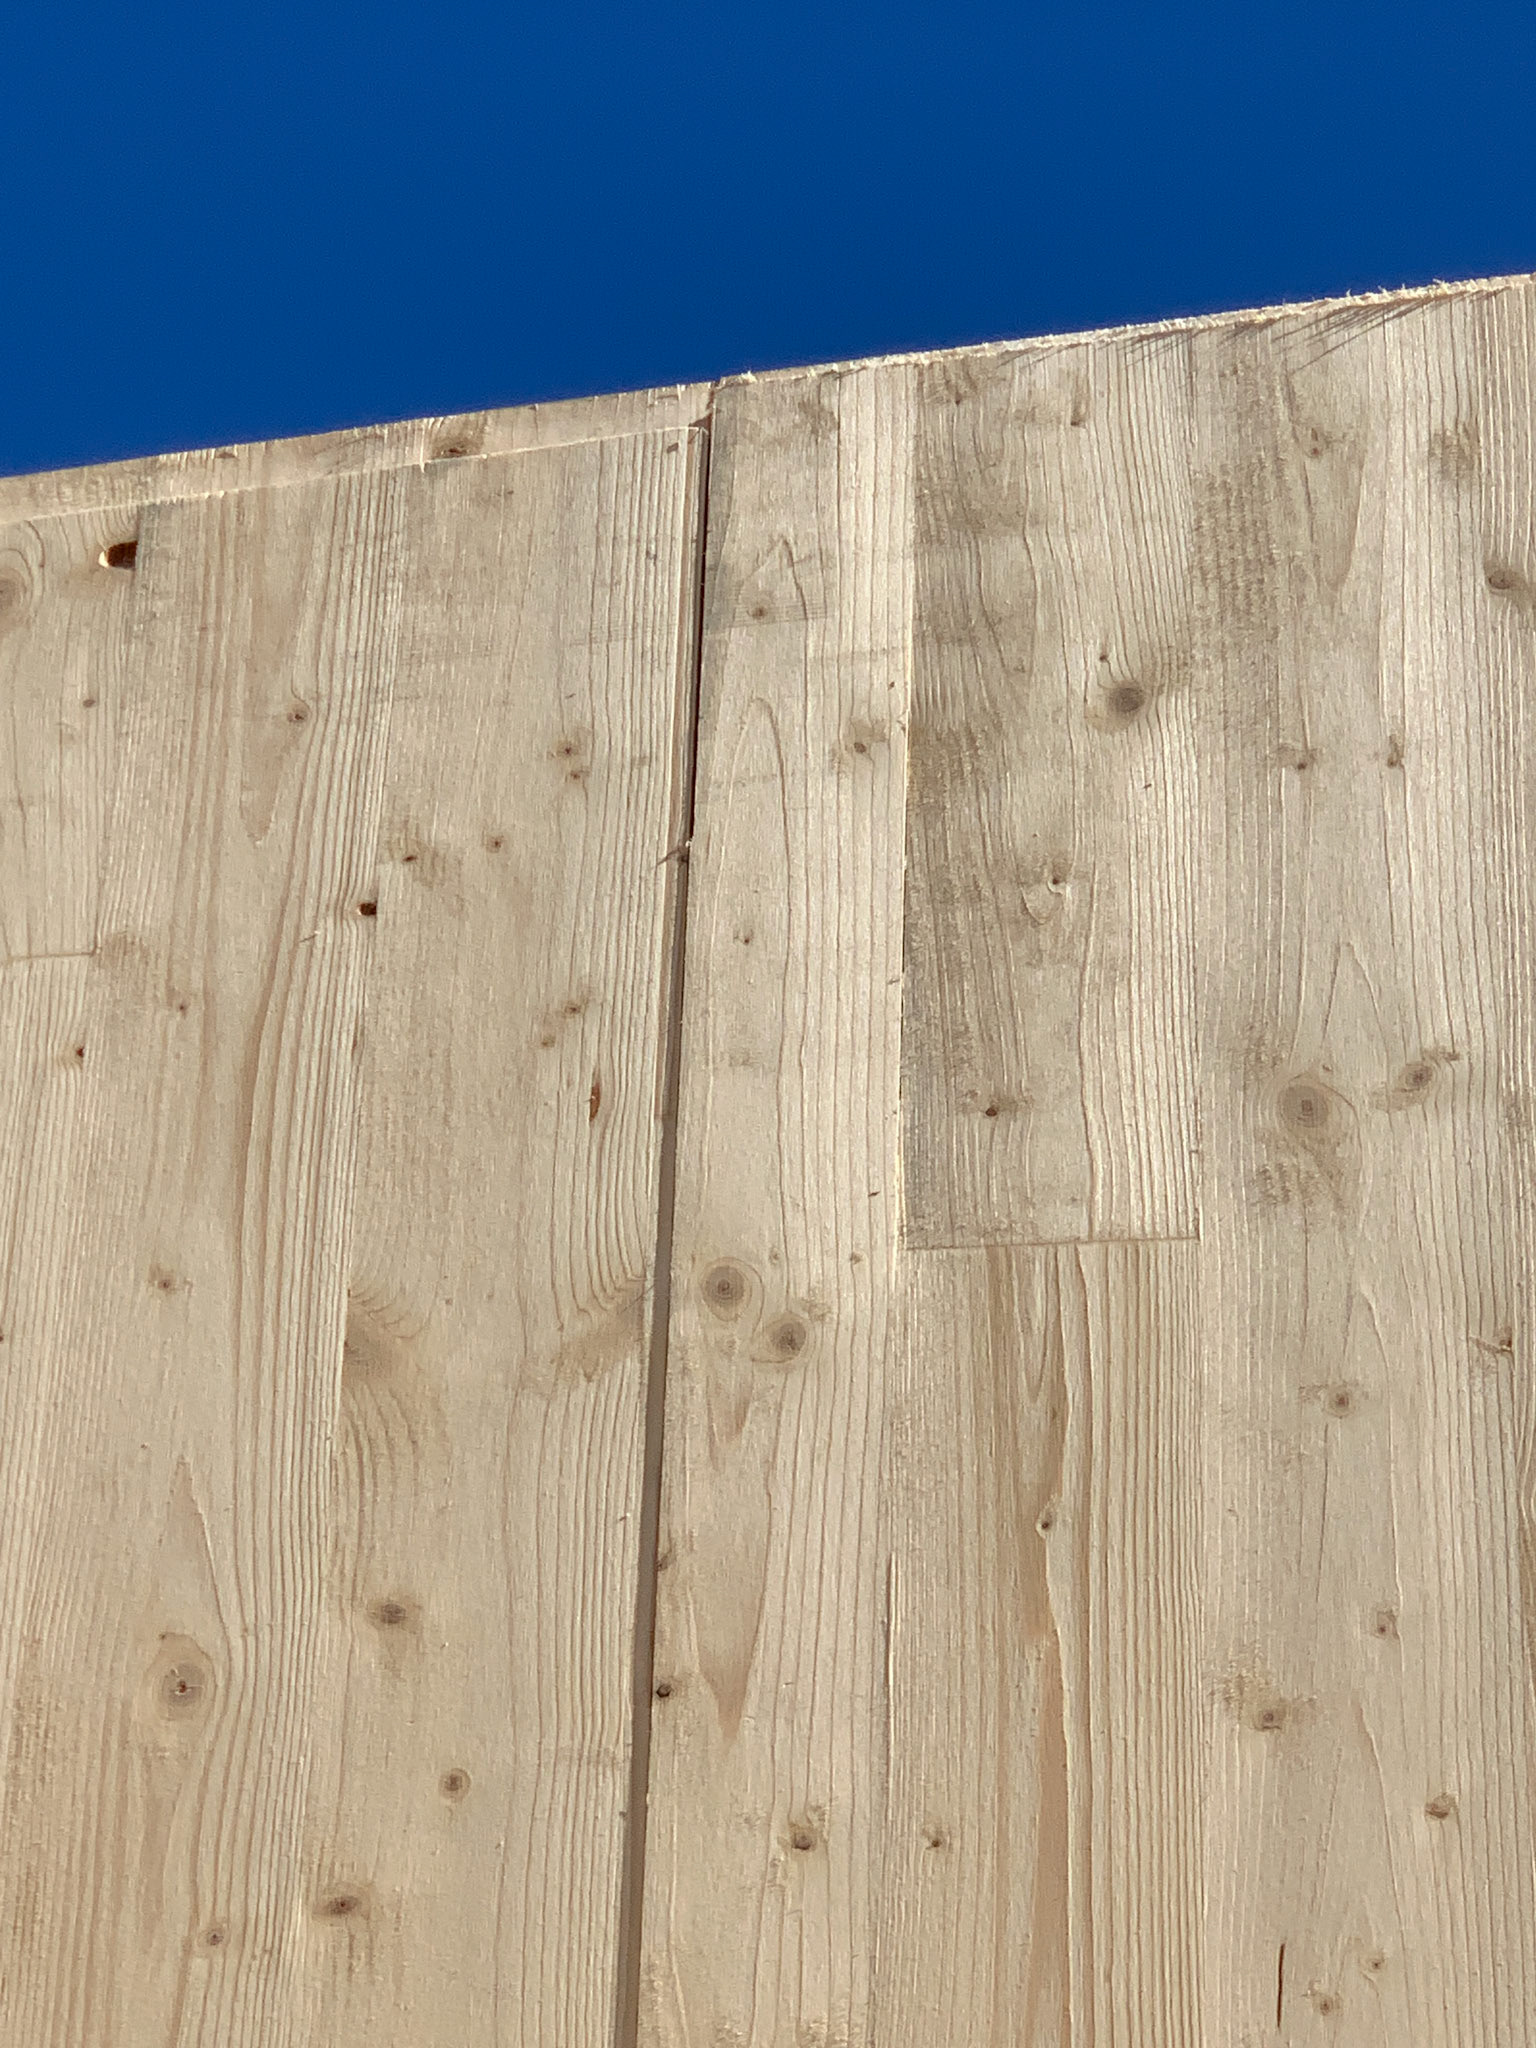
We discovered wall panels with a height greater than 3.5mt and 90mm thick when erected were affected by direct sunlight, deviating from being true and correct from when first encountered on the pack prior to craning into position. We should have purchased double the number of adjustable props available to us for temporary bracing and used these midway on either side of panels instead of framing timber. The alternative in future, if budget/design permits, would be to maybe trial an increase in the wall thickness size to confirm if this eliminates the panel deviating from being true and correct when erected and in direct sunlight.
At design stage maybe we should have insisted on a rebate to SOG edge to accept external CLT wall panels
Completed Hygrothermal modelling to predict the risk of moisture problems and avoided "doublethink".
Additional adjustable props to eliminate the use of framing timber for temporary bracing.
We discovered modifying and using bottle jacks under acrow props makes life so much easier.
No preference for selection of engineered screws from a supplier, Wurth, SPAX, Rothoblaas or Simpson Strong-Tie. They all pull into softwood with relative ease regardless of brand name.
An extendable tape unroller to allow for a comfortable upright position when applying tape directly to roof panels and/or WRB.
If you plan to live with exposed internal CLT walls and ceiling it would be handy to have a trade, or someone at least, following along immediately lightly sanding and applying a non-sealing / UV resistant product to minimise 'yellowing' whilst in direct sunlight and significant sanding at fit-out to remove.
Install schedule "as it happened"
Day 1
2x carpenter - set-out external walls and installation of ffixing plates against SOG edge
Day 2
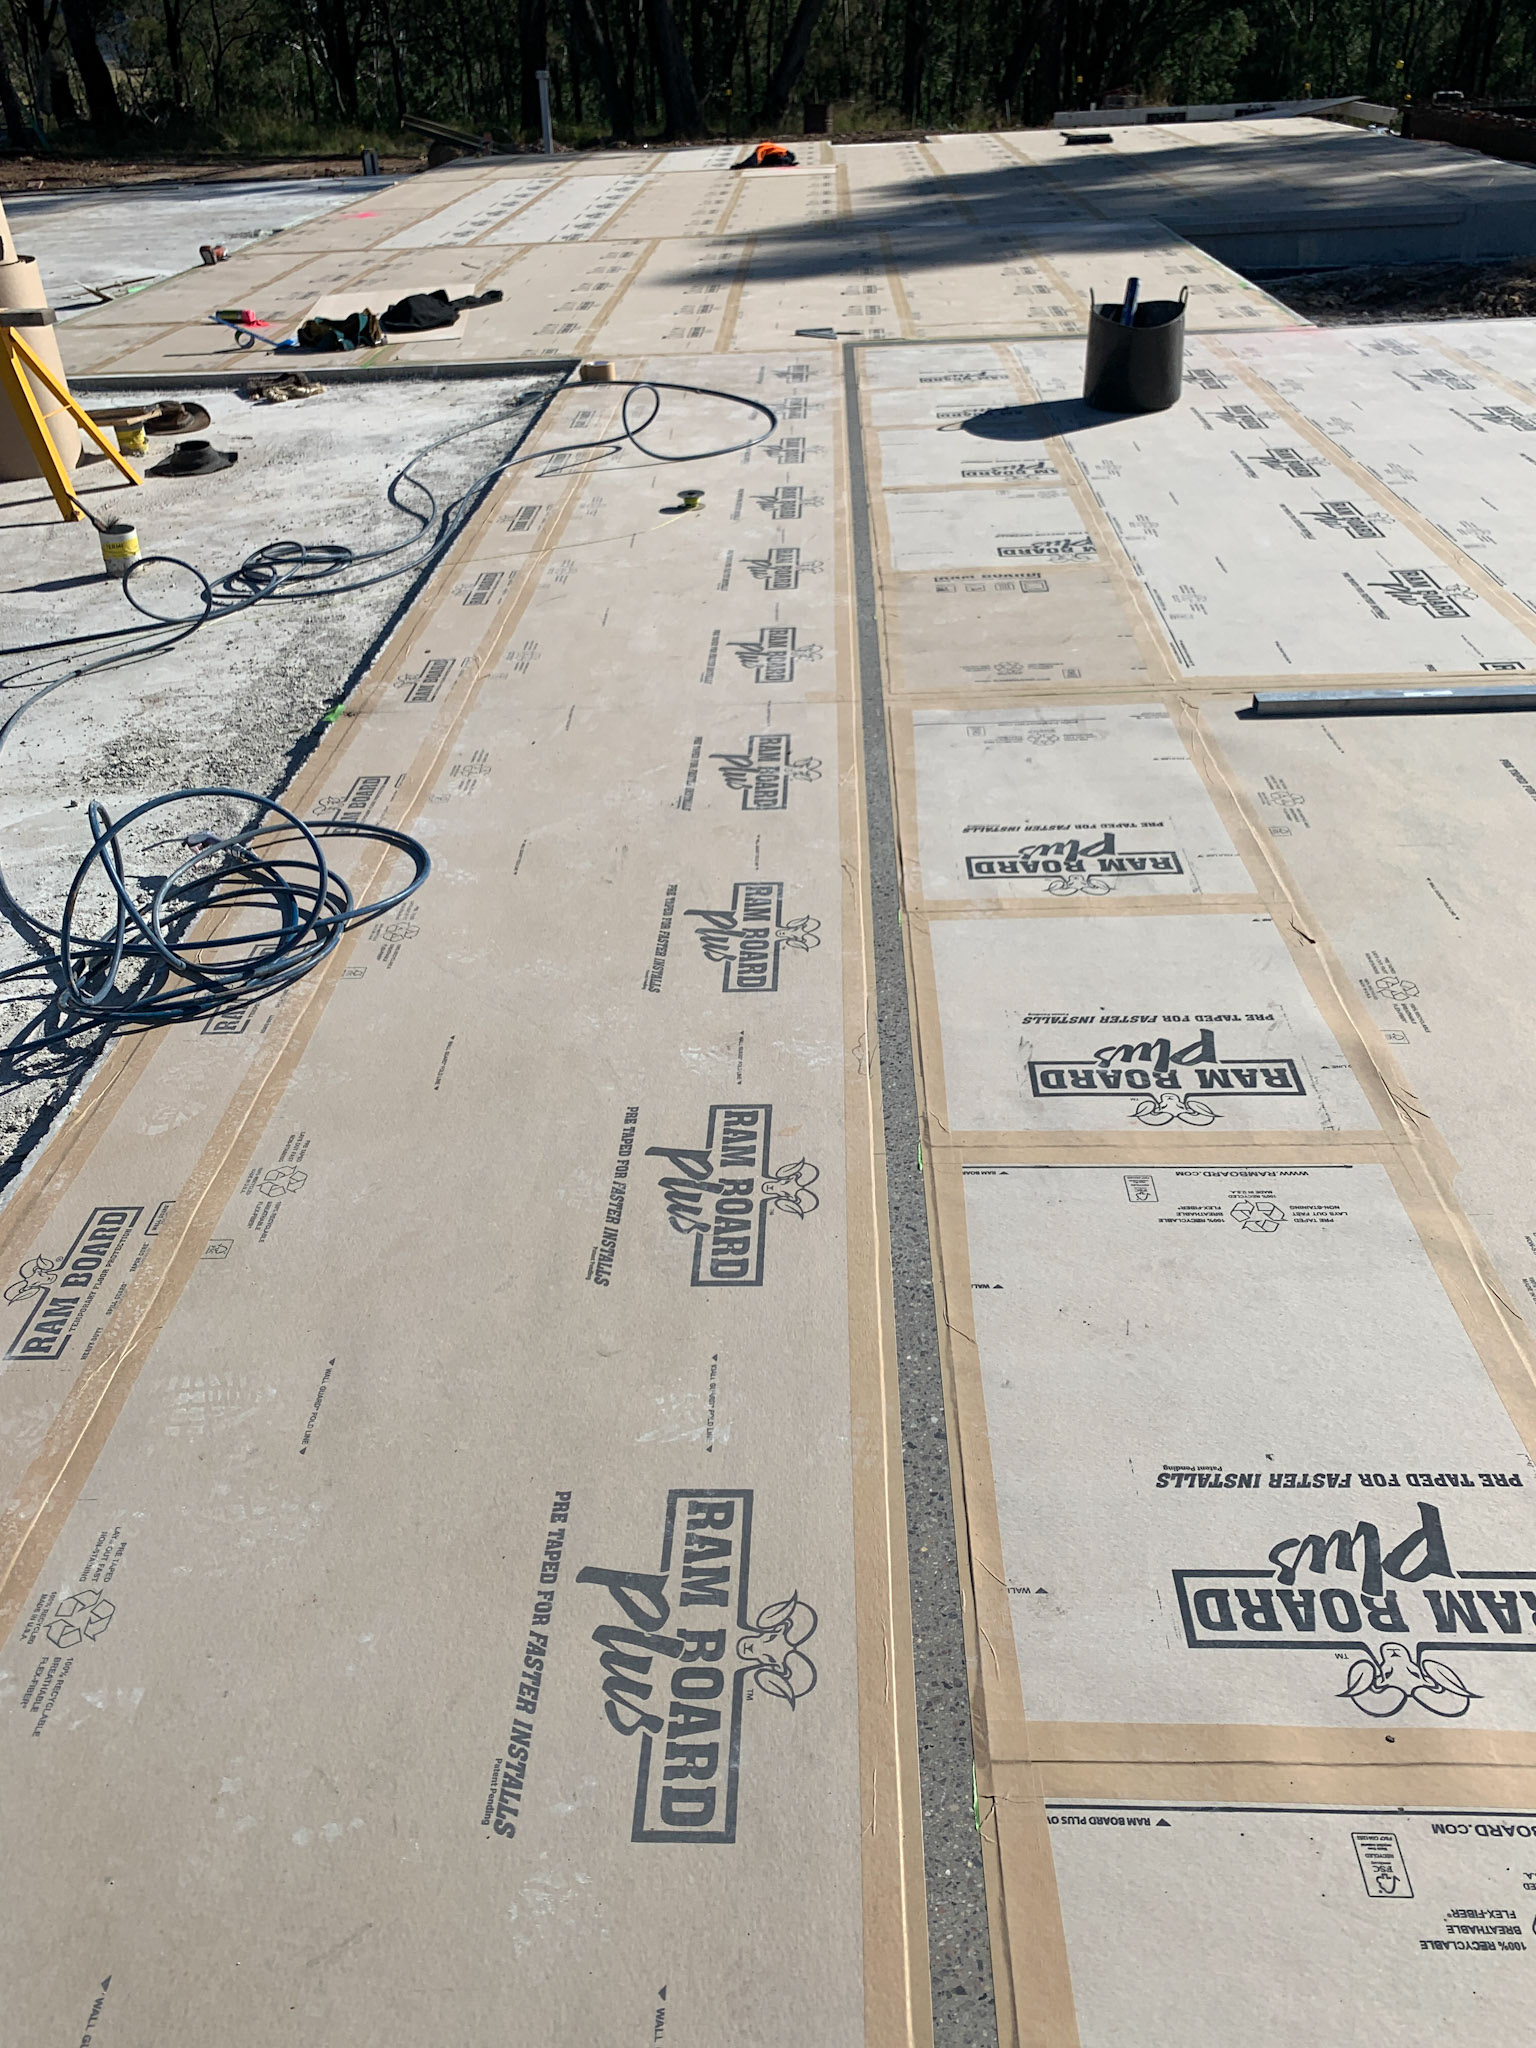
4x carpenters - installed Ram Board to protect polished concrete slab set-out internal walls and concealed fixings; arrangement of temporary braces in accordance with erection plan and fixing off at the base.
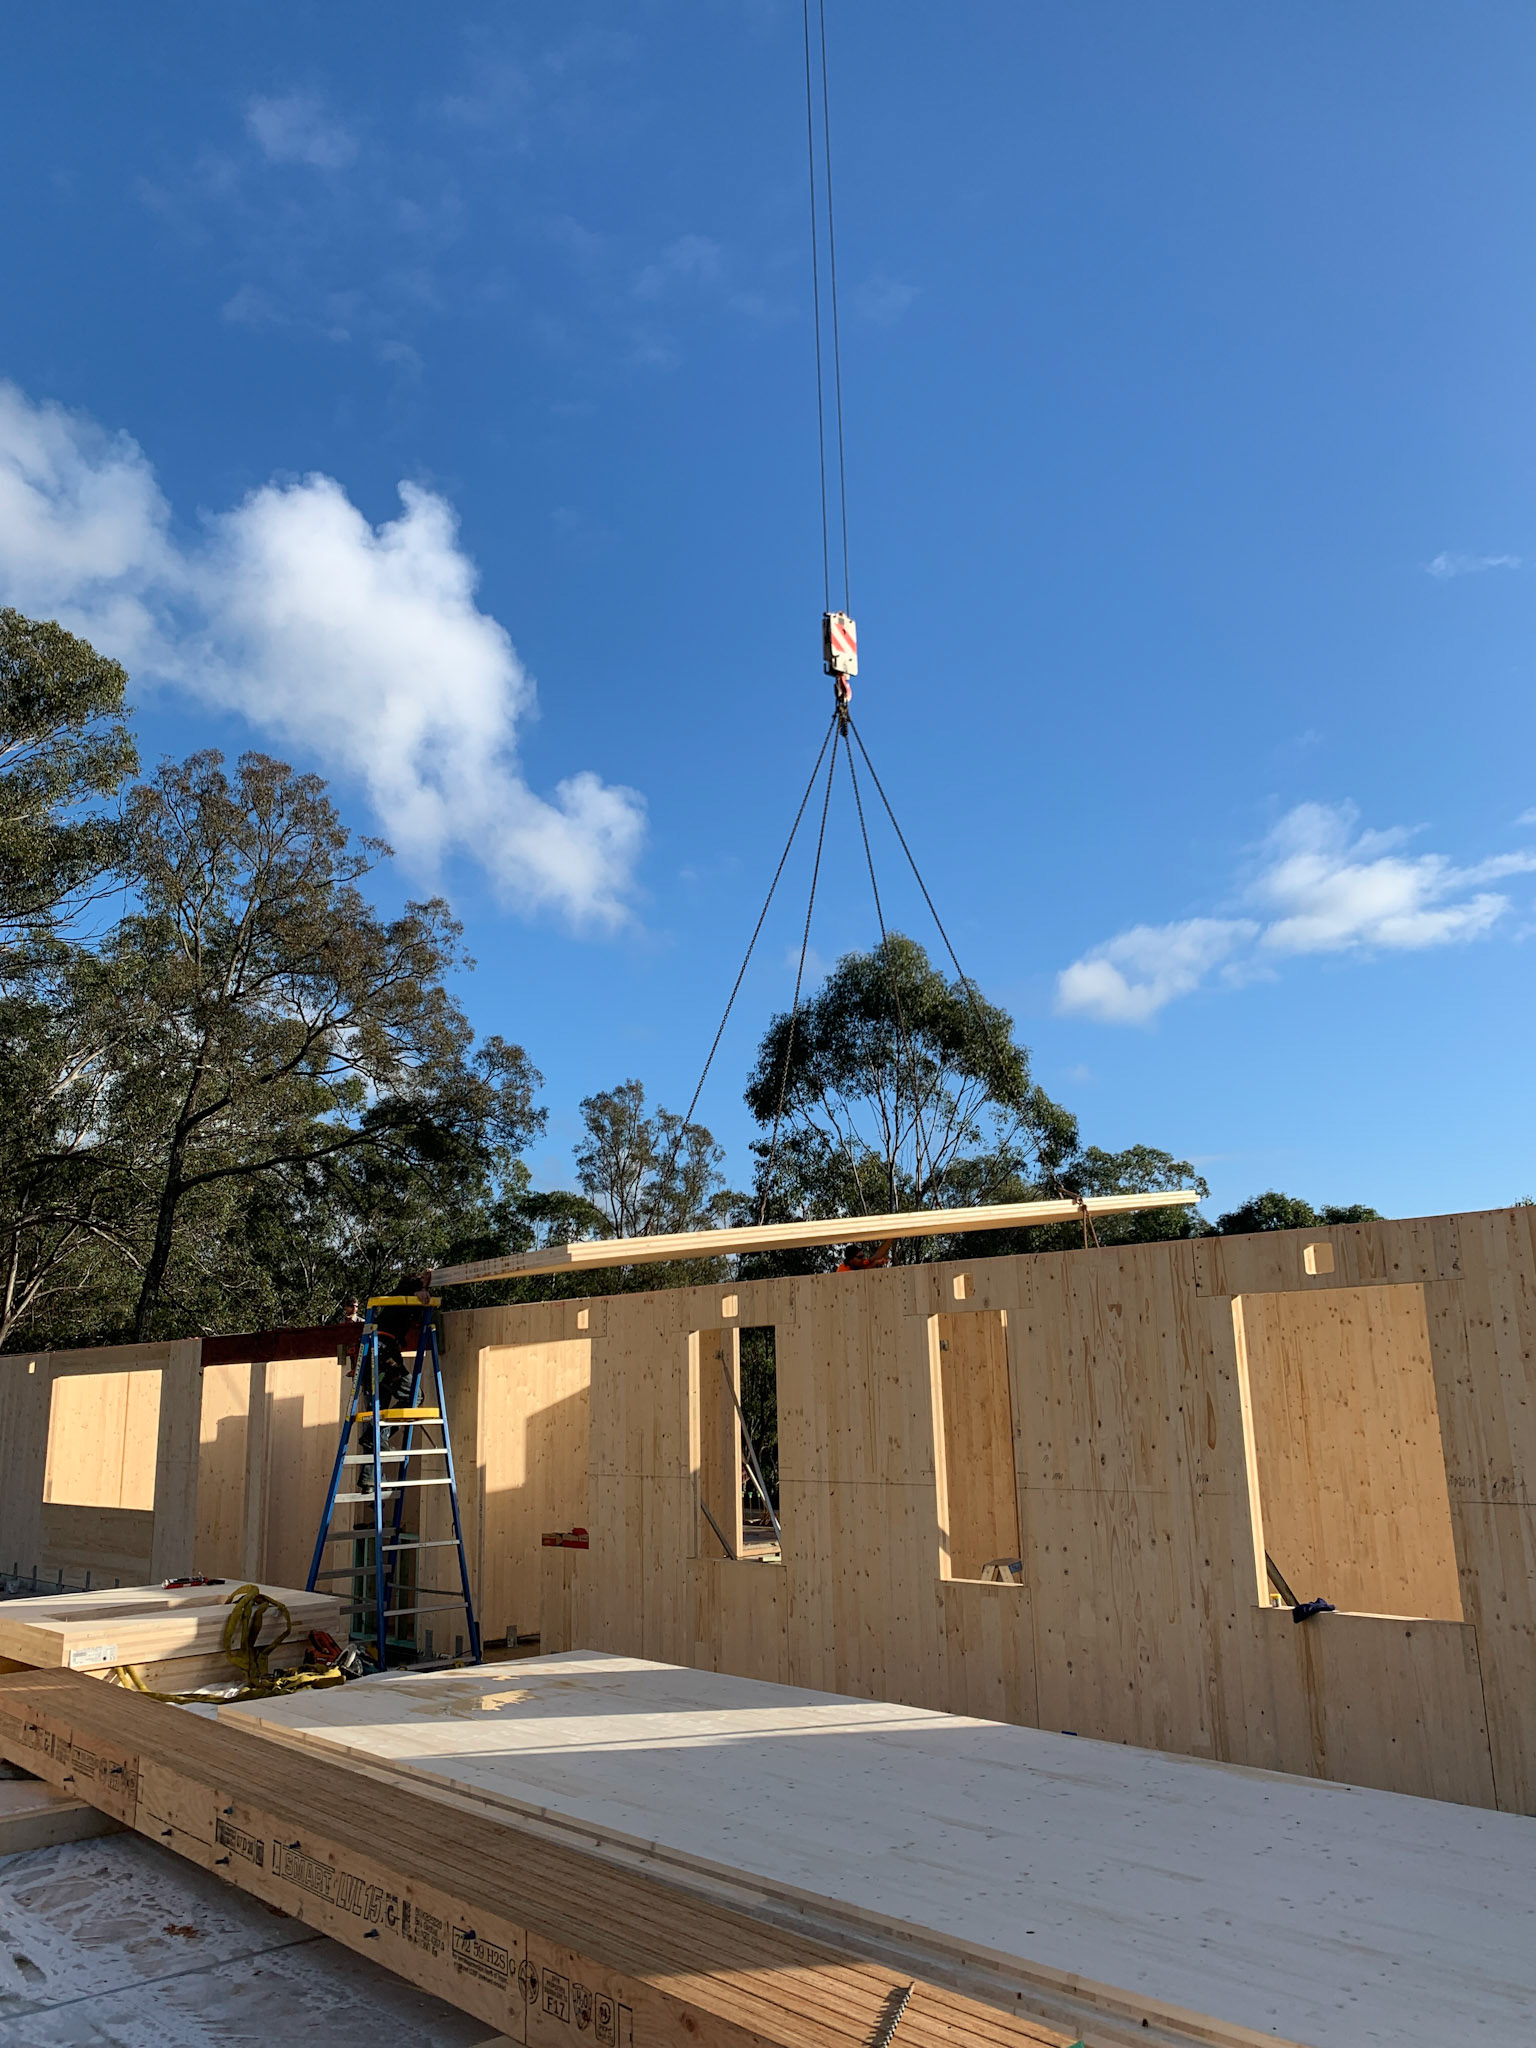
Day 3 - "First delivery of CLT panels"
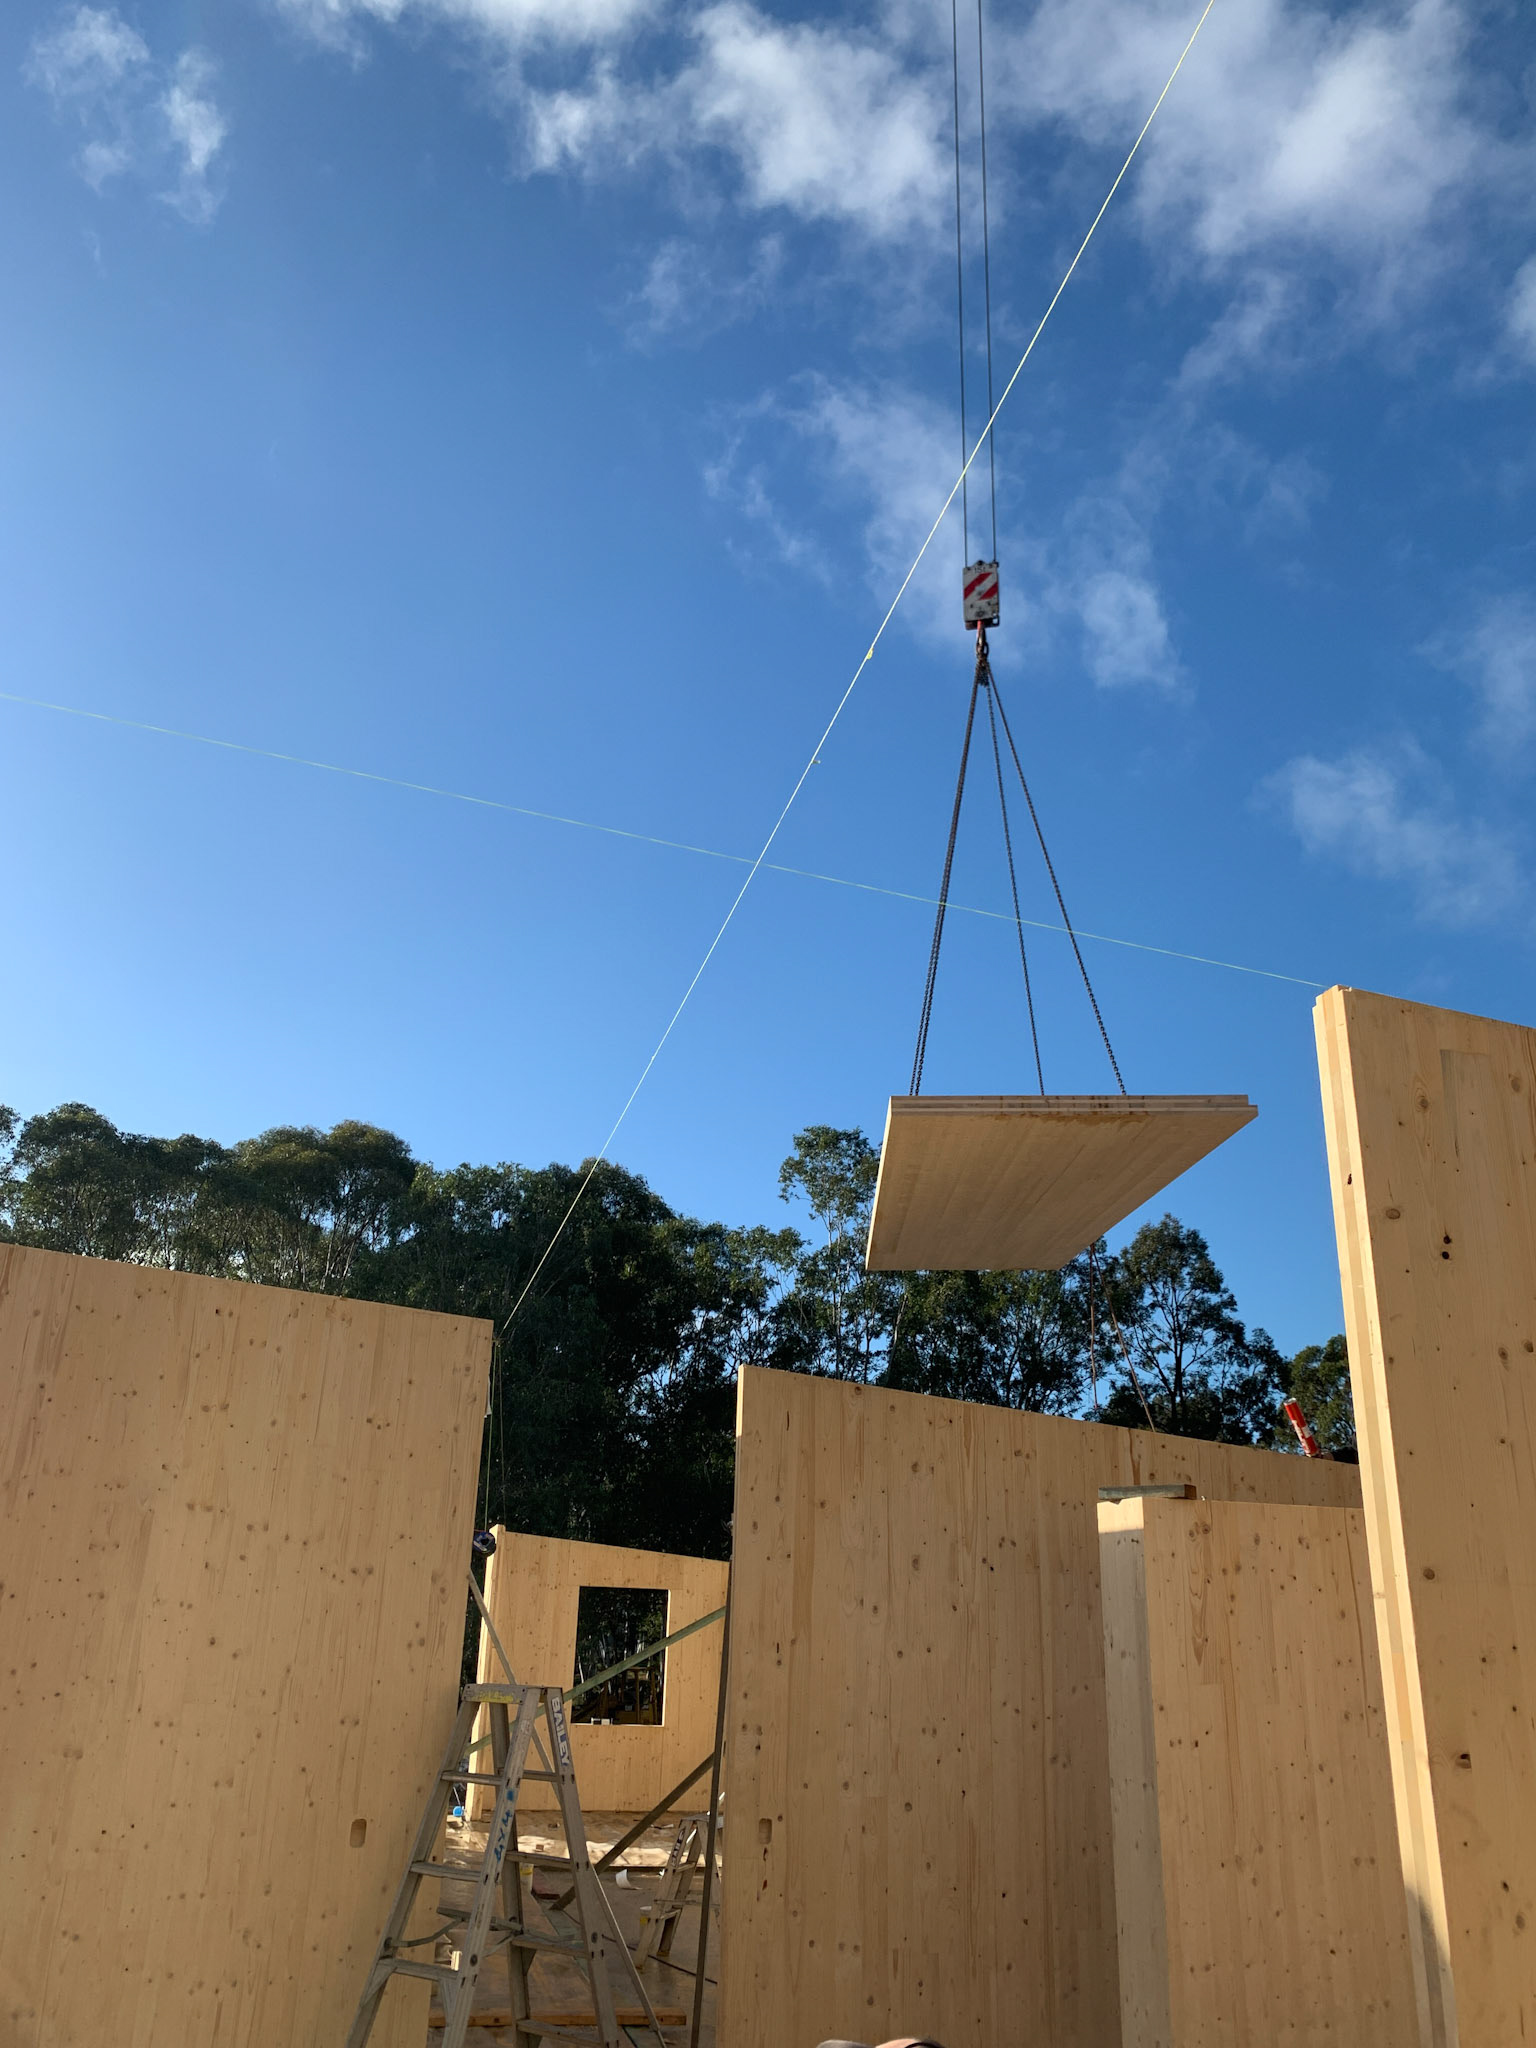
4x carpenters - checked panels in accordance with manufacturer’s instructions prior to install, commenced installing wall panels
40t crane 8.75 hrs
Day 4 - "Second delivery of CLT panels"
5x carpenters - checked panels in accordance with manufacturer’s instructions prior to install, commenced installing wall panels and final wall plumbing/alignment/levelling in accordance with ITPs ready for roof panel loading
40t crane 7.25 hrs
Day 5
5x carpenters - installed walls and final wall plumbing/alignment/levelling in accordance with ITPs and fixings to engineers specifications ready for roof panel loading
40t crane 9.5 hrs
Day 6
4x carpenters - final wall plumbing/alignment/levelling in accordance with ITPs and fixings to engineers specifications ready for roof panel loading
No crane
Day 7
6x carpenters plus 1x apprentice - install roof panels, WRB, prepare tower at ground level ready for craning onto roof and final wall plumbing/alignment/levelling in accordance with ITP ready for roof panel loading
40t crane 8.0 hrs
Day 8
4x carpenters - install roof panels, WRB, tower and upstand beams
40t crane 8.0 hrs
Install completed to engineers requirements.
Specific purchases made to complete the install
1x Bailey fibreglass platform 7 Step Ladder 170kg on wheels (secondhand from Facebook Marketplace) - $400
15x adjustable props similar to those used for installing lightweight formwork i.e. AFS, Dincel, Rediwall, Ritek - $915
1x Milwaukee 12v stapler - $190
10x swivel heads attachment for acrow props - $400
4x boxes of precast concrete panel shims (1,2,3,5 and 10mm) - $351
5x Hilti foam applied to all CLT rebate joints - $350
1x rubber mallet - $25
6x standard ratchet load binders modified - $300
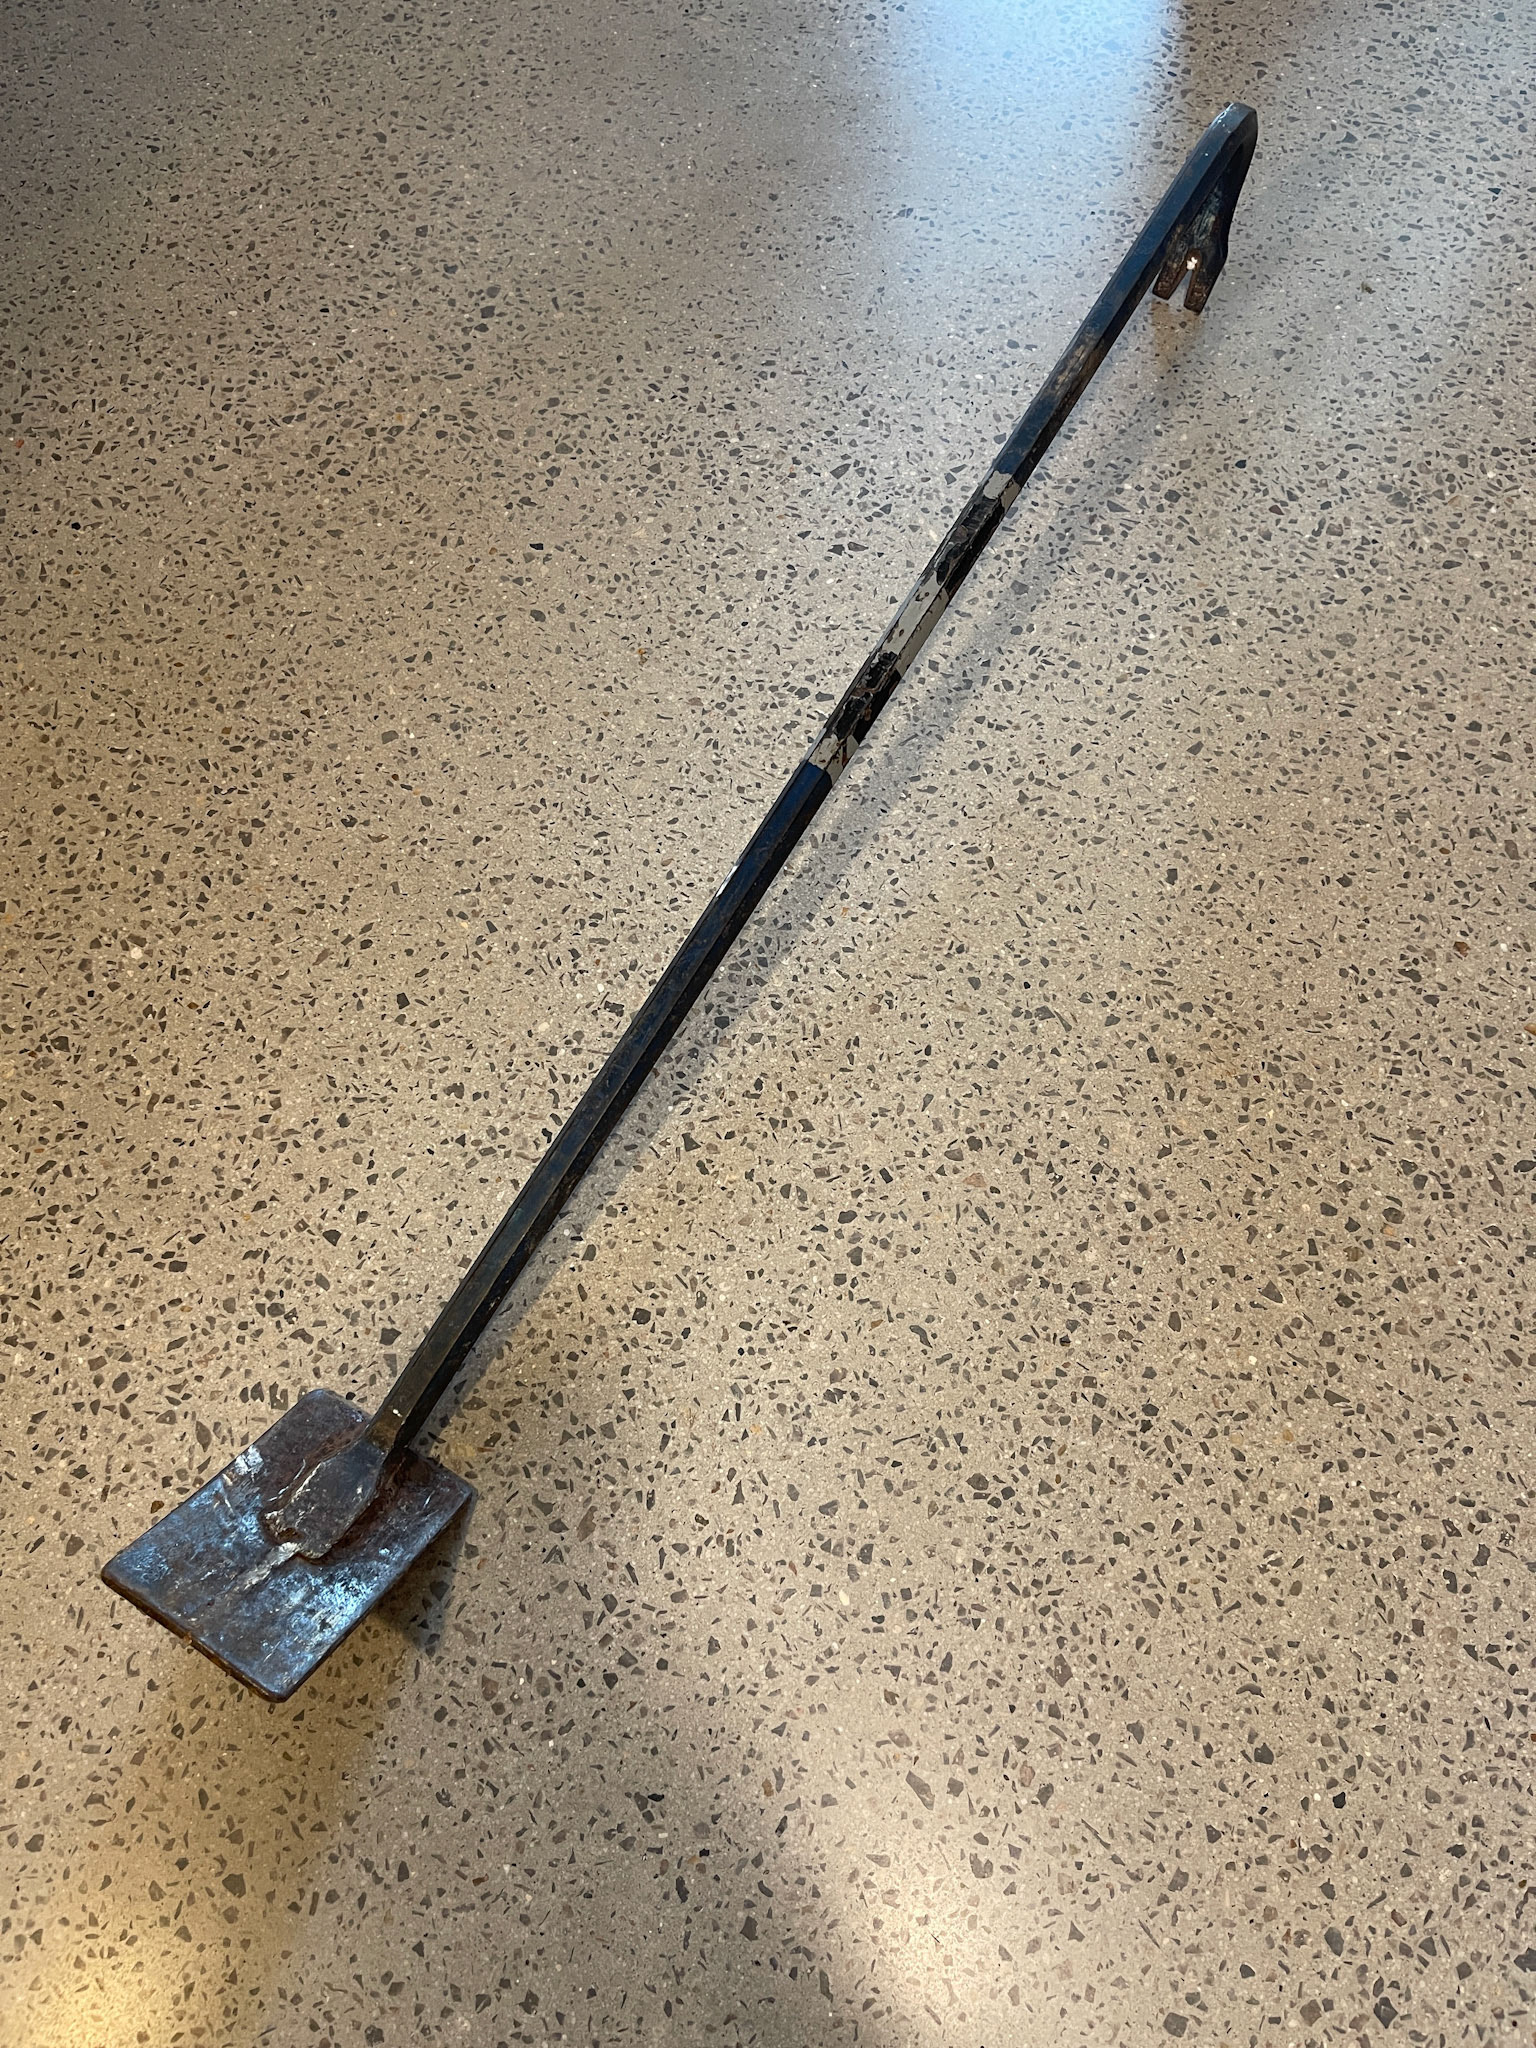
1x standard pinch bar converted to a lifting bar by welding a brake pad to the end - priceless